![[DD] Boards & Chat](https://www.dailydiapers.com/board/uploads/monthly_2021_11/DDweb-02.png.0c06f38ea7c6e581d61ce22dffdea106.png)
 |
 |


qwerty
-
Posts
26 -
Joined
-
Last visited
qwerty's Achievements
Infant (2/7)
25
Reputation
-
The most padded (in cloth) I have ever been!
qwerty replied to DL-Boy's topic in Cloth Diapers & Panties
You're not truly padded until you can sit on a hard chair and it feels like a pillow I make sure to wear a "home alone all day" diaper whenever I can. The requirements for a proper diaper in this scenario: 1. It must be absolutely impossible to fit pants over it 2. I must not be able to get my feet close than shoulder width apart 3. being able to walk even remotely close to normally is unacceptable 4. being able to sit with my legs straight is also unacceptable It's a great feeling that only cloth can achieve. In the future I'd like to get a larger diaper that I can fit even more stuffers in. I wonder if it's possible to get a diaper so thick that walking is impossible? -
I also use rearz's prefolds. I find that the width is not enough for the length normally. That being said, what I usually do is pin the right side, then hold the other in the right position with my hand. I then pull it up like a pair of pants, tighten the left side as much as possible, then pin. Then I unpin the right side, tighten and pin again. Usually it's done by this point, but it's ok to go back and forth a couple more times. What I do for pinning the diaper is I pull it tight with two hands, and then I pinch the diaper from above with my left hand, such that my thumb is on the inside of the diaper and my fingers are on the outside. Then I pin with my right hand. hope this helps you
-
Yeah that always seems to be the problem area doesnt it. What i've been doing is getting my plastic pants one or two sizes larger. This gives me enough material to tuck it in below the diaper at the problem area.
-
In theory, not too hard. Carve something out of wax, flame smooth it and invest it in plaster. Burn the plaster out. At which point you now have a mold you can pour liquid silicone into. Much, much , much harder in practice than in theory. You'll also need a pressure pot or vacuum chamber for best results. The entire setup may cost $150 to get going. Each stent produced afterwards would only cost a couple dollars, but the startup cost is high. Other than that, it can be done at home i guess. There's probably better ways of making molds for silicone, but this is the easiest one that can make a smooth stent which I can think of
-
Restarting my journey to incontinence and hopefully true bedwetting
qwerty replied to Inconito's topic in Incontinent-Desires
Ooooh this is a topic I'm well versed in. Feel free to ask questions. A great source for info is on fetlife. There's a user there who goes by billytex1 who is very knowledgeable and willing to share that knowledge. Anyhow, when I use catheters, I normally collect it in one of those 2000 ml bedside collection bags which I attach a one way check valve to. I mount this on my belly /front of pants. I find this gives much more capacity, is less visible, more comfortable, and less prone to dislodging through movement compared to a leg bag. I drink plenty of water, and combined with the check valve, I've never had a uti despite keeping having kept the catheter in for months at a time. Anyhow, what I learned from the fetlife user is that it is possible to make yourself incontinent with catheters, but it's not enough to just wear a catheter. You need to slowly ramp up the catheter size, all the way up to the largest size (30 fr). Your sphincter tissue will slowly and permanently expand to adapt to the constant presence of the catheter. However, this requires weeks per size, for the smaller sizes, and months per size for the larger ones. Additionally, you can't take breaks: you have to be almost 100% permanently cathed. Or else your tissue will spring back to its original shape like and elastic. On the topic of bladder shrinkage: I found a clinical study on this topic. Long story short, bladder capacity will shrink down to about 100 ml over a year. This is reversible rather quickly. Past a year, it will shrink dramatically more slowly, something like 8 ml of capacity per month. If you keep at it past this point, the shrinkage appears to be permanent. The fetlife user tells me he has made himself incontinent using this method. I believe this will take at least 2 years to do properly, but it should work. Not a quick solution at all, but supposedly effective. I believe you might? be able to recover control if you really try. But I would not count on that -
Stent 3.1 update: tl;dr : 3 days straight, so far, including nights. Almost no discernible irritation. Much, much more comfortable at night. So it turns out the exact angle and radius of the two bends in my stent design matter a lot. The bend near the front (urine exiting part) of the stent was not tight enough. As a result, i didn't actually get the retaining quality of the design. Stent 3.1 is basically the exact same as 3.0 except with a longer bend in the front. So far, ZERO movement. I've even tried pushing it in to the bladder; refuses to go in. This is fantastic since, in theory, I can ditch the retrieval line. I dont see a real reason to risk it at this time though. The real benefit of this is when sleeping. When sleeping, I found that the previous stent designs would slip backwards a little bit, and whenever I clamp down my external sphincter, the end of the stent is halfway in, halfway out of the sphincter. This causes significant discomfort, and a lot of irritation over the course of the night. Of course, this isn't something I can control since the sphincter naturally wants to stay closed. But now, the problem doesn't exist at all. Much more comfortable to sleep. I think the sleep irritation was the major limiting factor in how long i could keep previous stents in. Stent 3.1 has been in and out for the past week or so. I had to get each bend angle and radius just right. Fortunately, the adjustments were small enough to do just by hand bending the stent, and didn't require building a new one. (good thing too since I'm almost out of the catheter size I use for stents.) So after working the stent till it just about melds with my urethra's natural curves, I've arrived at the completed version 3.1 Man, what a difference a well fitted stent makes. For the past few days, I've been the most comfortably stented I've ever been. Before, the standard for me was "tolerable while moving, comfortable when still", but I've been routinely forgetting that I have a stent in at all... until of course I feel a trickle of pee start. Which then turn into a stream, and I instinctively try to stop it, only to find that I can't control it at all. With the previous stents, I think about a week was the limit before it became a little too uncomfortable to sleep and stuff, and I would end up taking it out to be able to get to sleep for the night. Another thing I've really noticed is that stent irritation is significantly worse when you're dehydrated. Seriously, it felt like the urethra was being rubbed raw by every movement. This quickly went away once I drank enough water. Anyone else notice this? Well either way, I'm not about to complain about an excuse to stay well hydrated, and therefore more leaky I've been doing some heavy exercise in some pretty brutal heat yesterday, and the stent felt just fine though. So I think I'm definitely making progress. I had never imagined a stent could be so comfortable I would not notice it was in unless it was causing me to leak at that moment. To think that I believed I'd reached the limit of stent comfort with v2! Had I stopped there, I would never have been able to stay incontinent for more than a week, and there would always have been some discomfort with it. Just goes to show we should never stop trying to make things better. I'm hoping for the best with v 3.1 though. So I hope this case inspires you all to keep working on stents!
-
If you compare real absorbency (rather than the very misleading "ISO absorbency" that disposables like to advertise), cloth is about 20% less absorbent than disposables, for a given thickness level, if you take the thickness of a full disposable. Basically, disposables get bulkier as they get wet, while cloth stays the same. If you compare a full cloth diaper vs a full disposable of the same size, the difference is about 20% less for cloth. With my standard daytime cloth diaper, I change every 2-4 hours, but I wet wayyyy more than a normal person, so I'd say it's closer to 4 hours for a normal urine output level. Either way, changing often is only a mild inconvenience to me, since the cost of changing is negligible. So it doesn't matter that I'm using more diapers.
-
That's one of the reasons I like cloth diapers for those trying to go 24/7. When washed with a modern high efficiency washing machine, the ecological impact is a fraction of a disposable's, not to mention the cost savings. It's also convenient to not have to worry about how to manage disposal
-
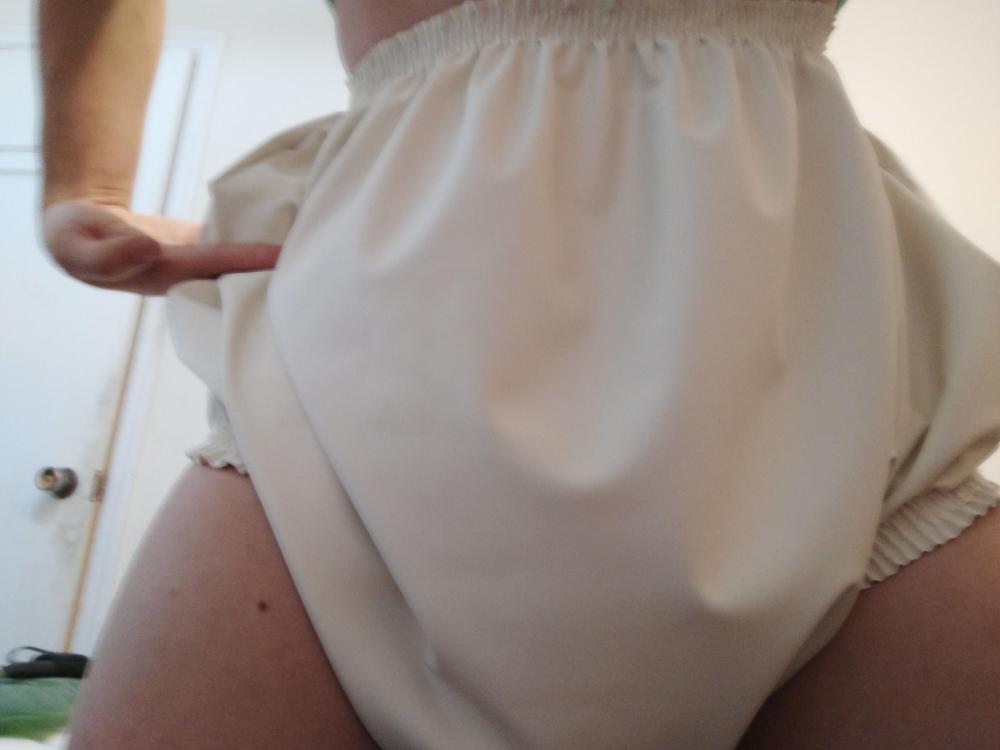
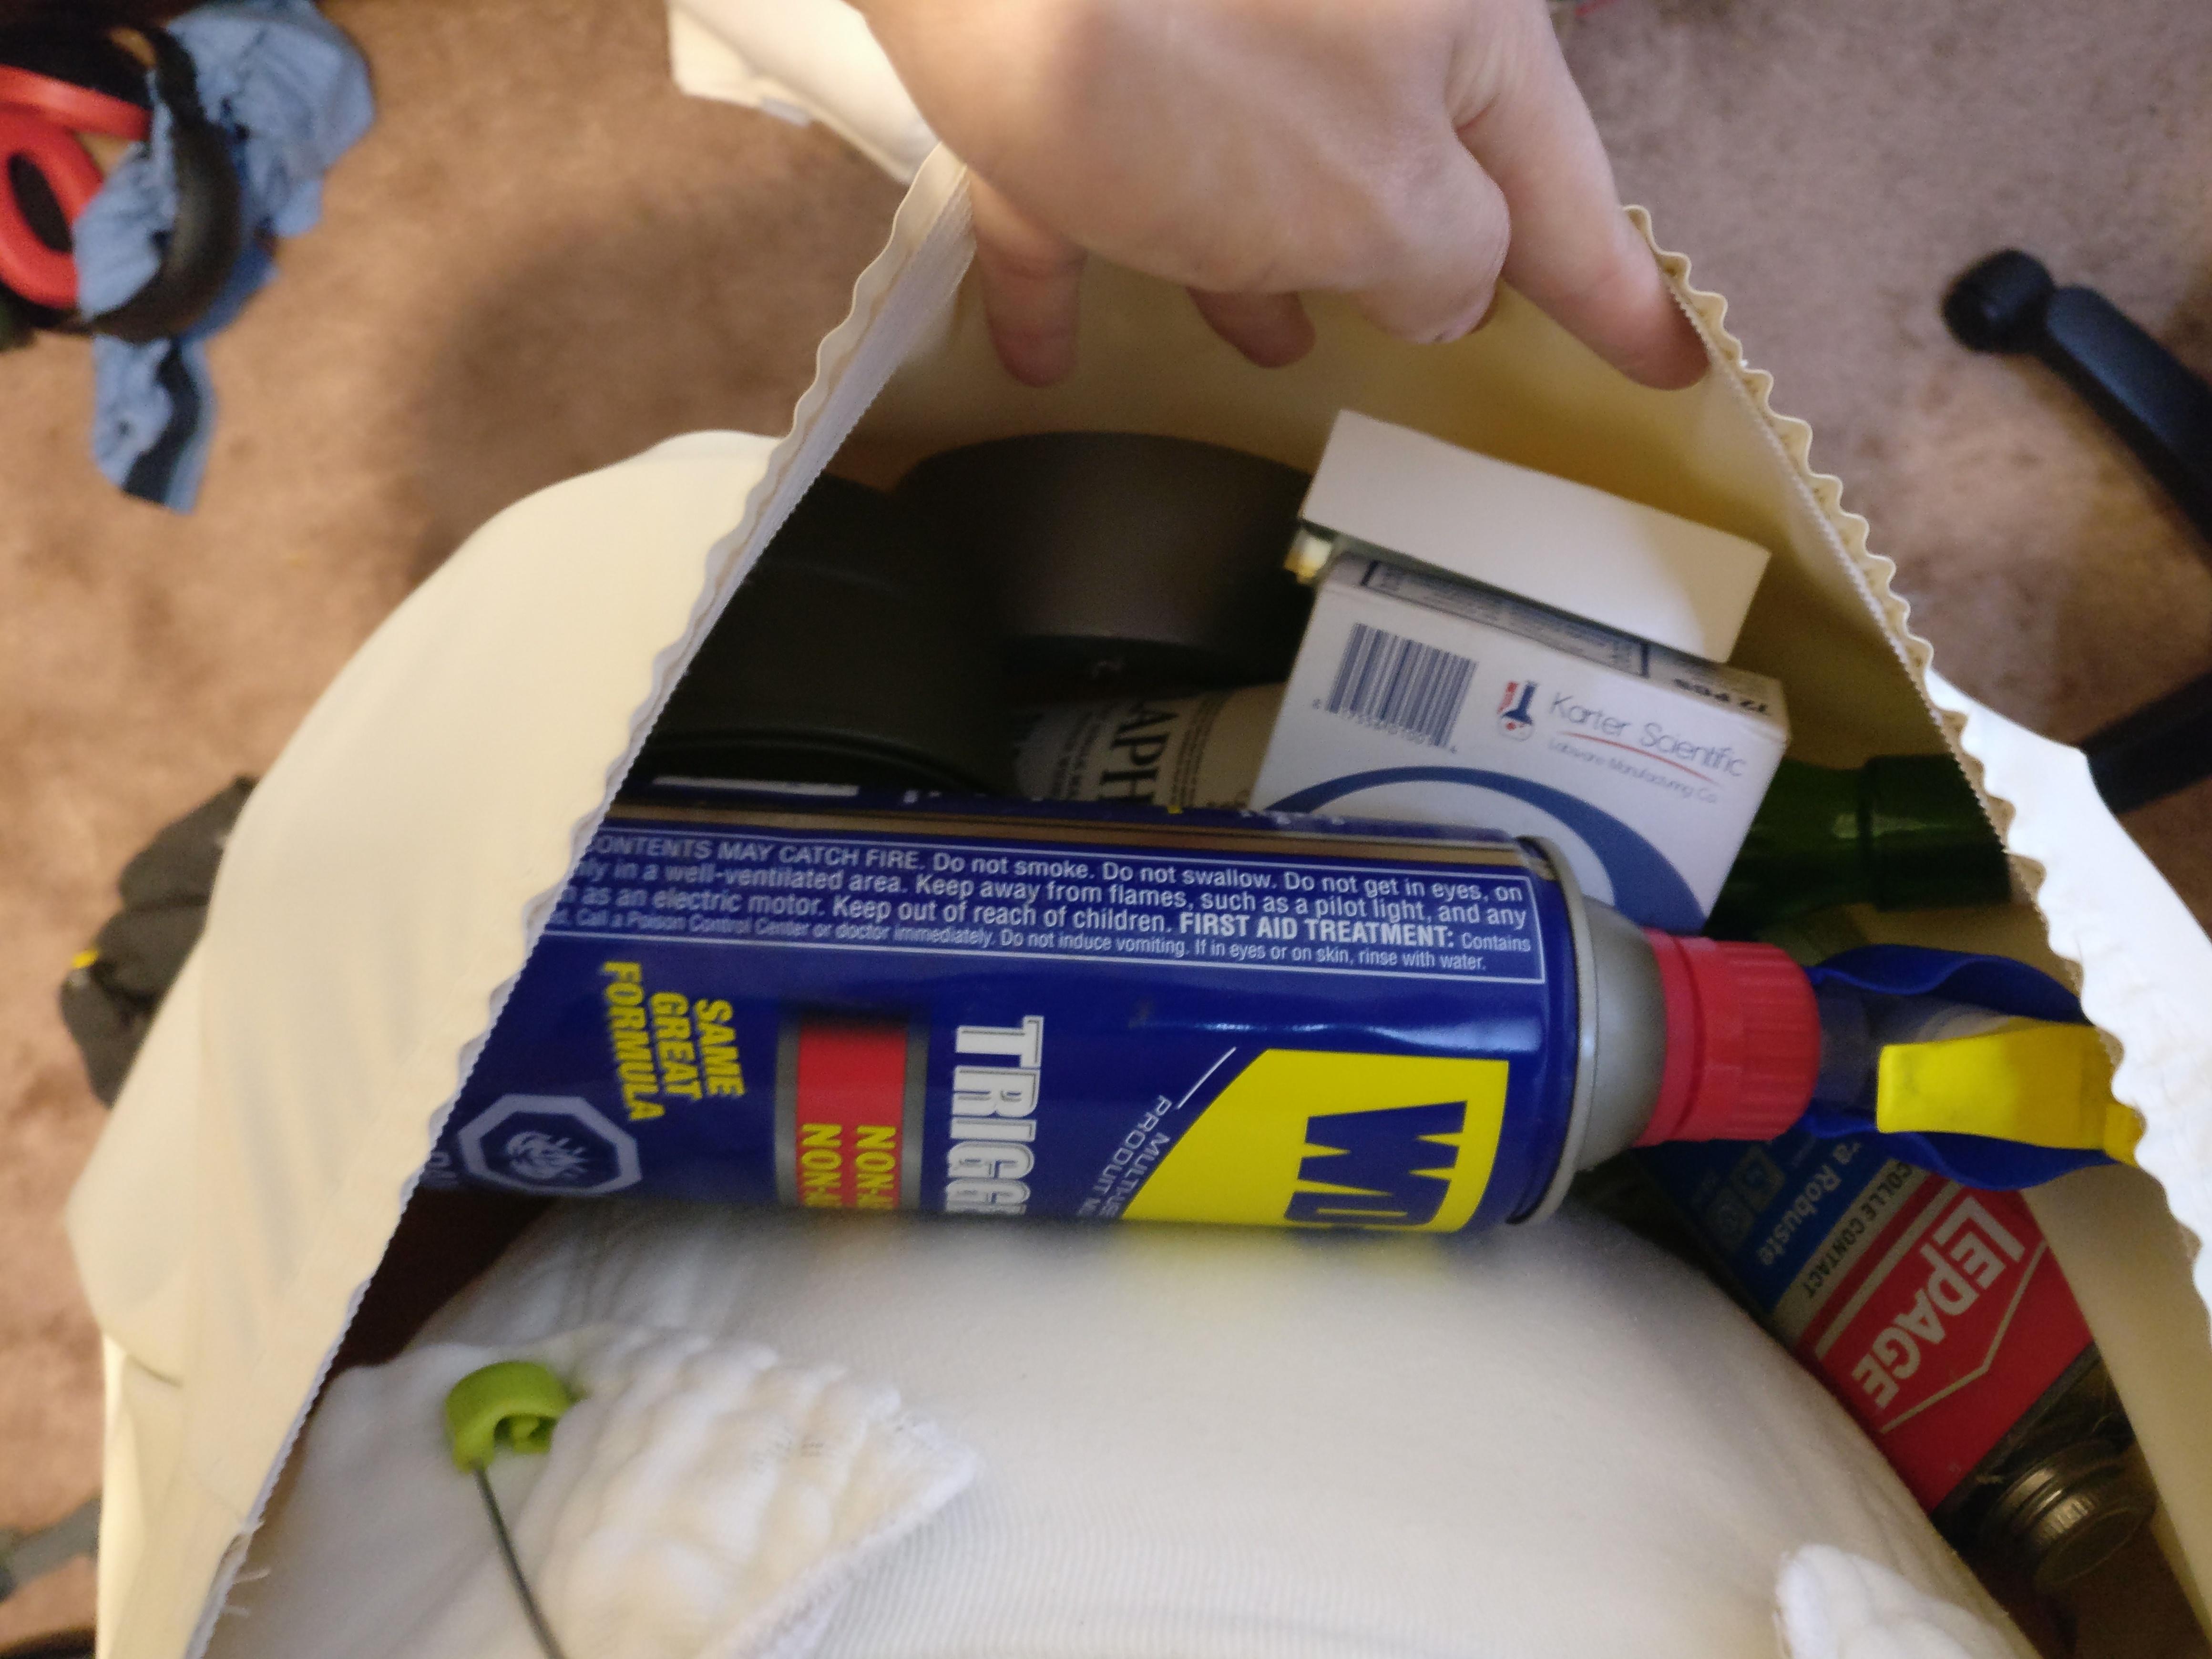
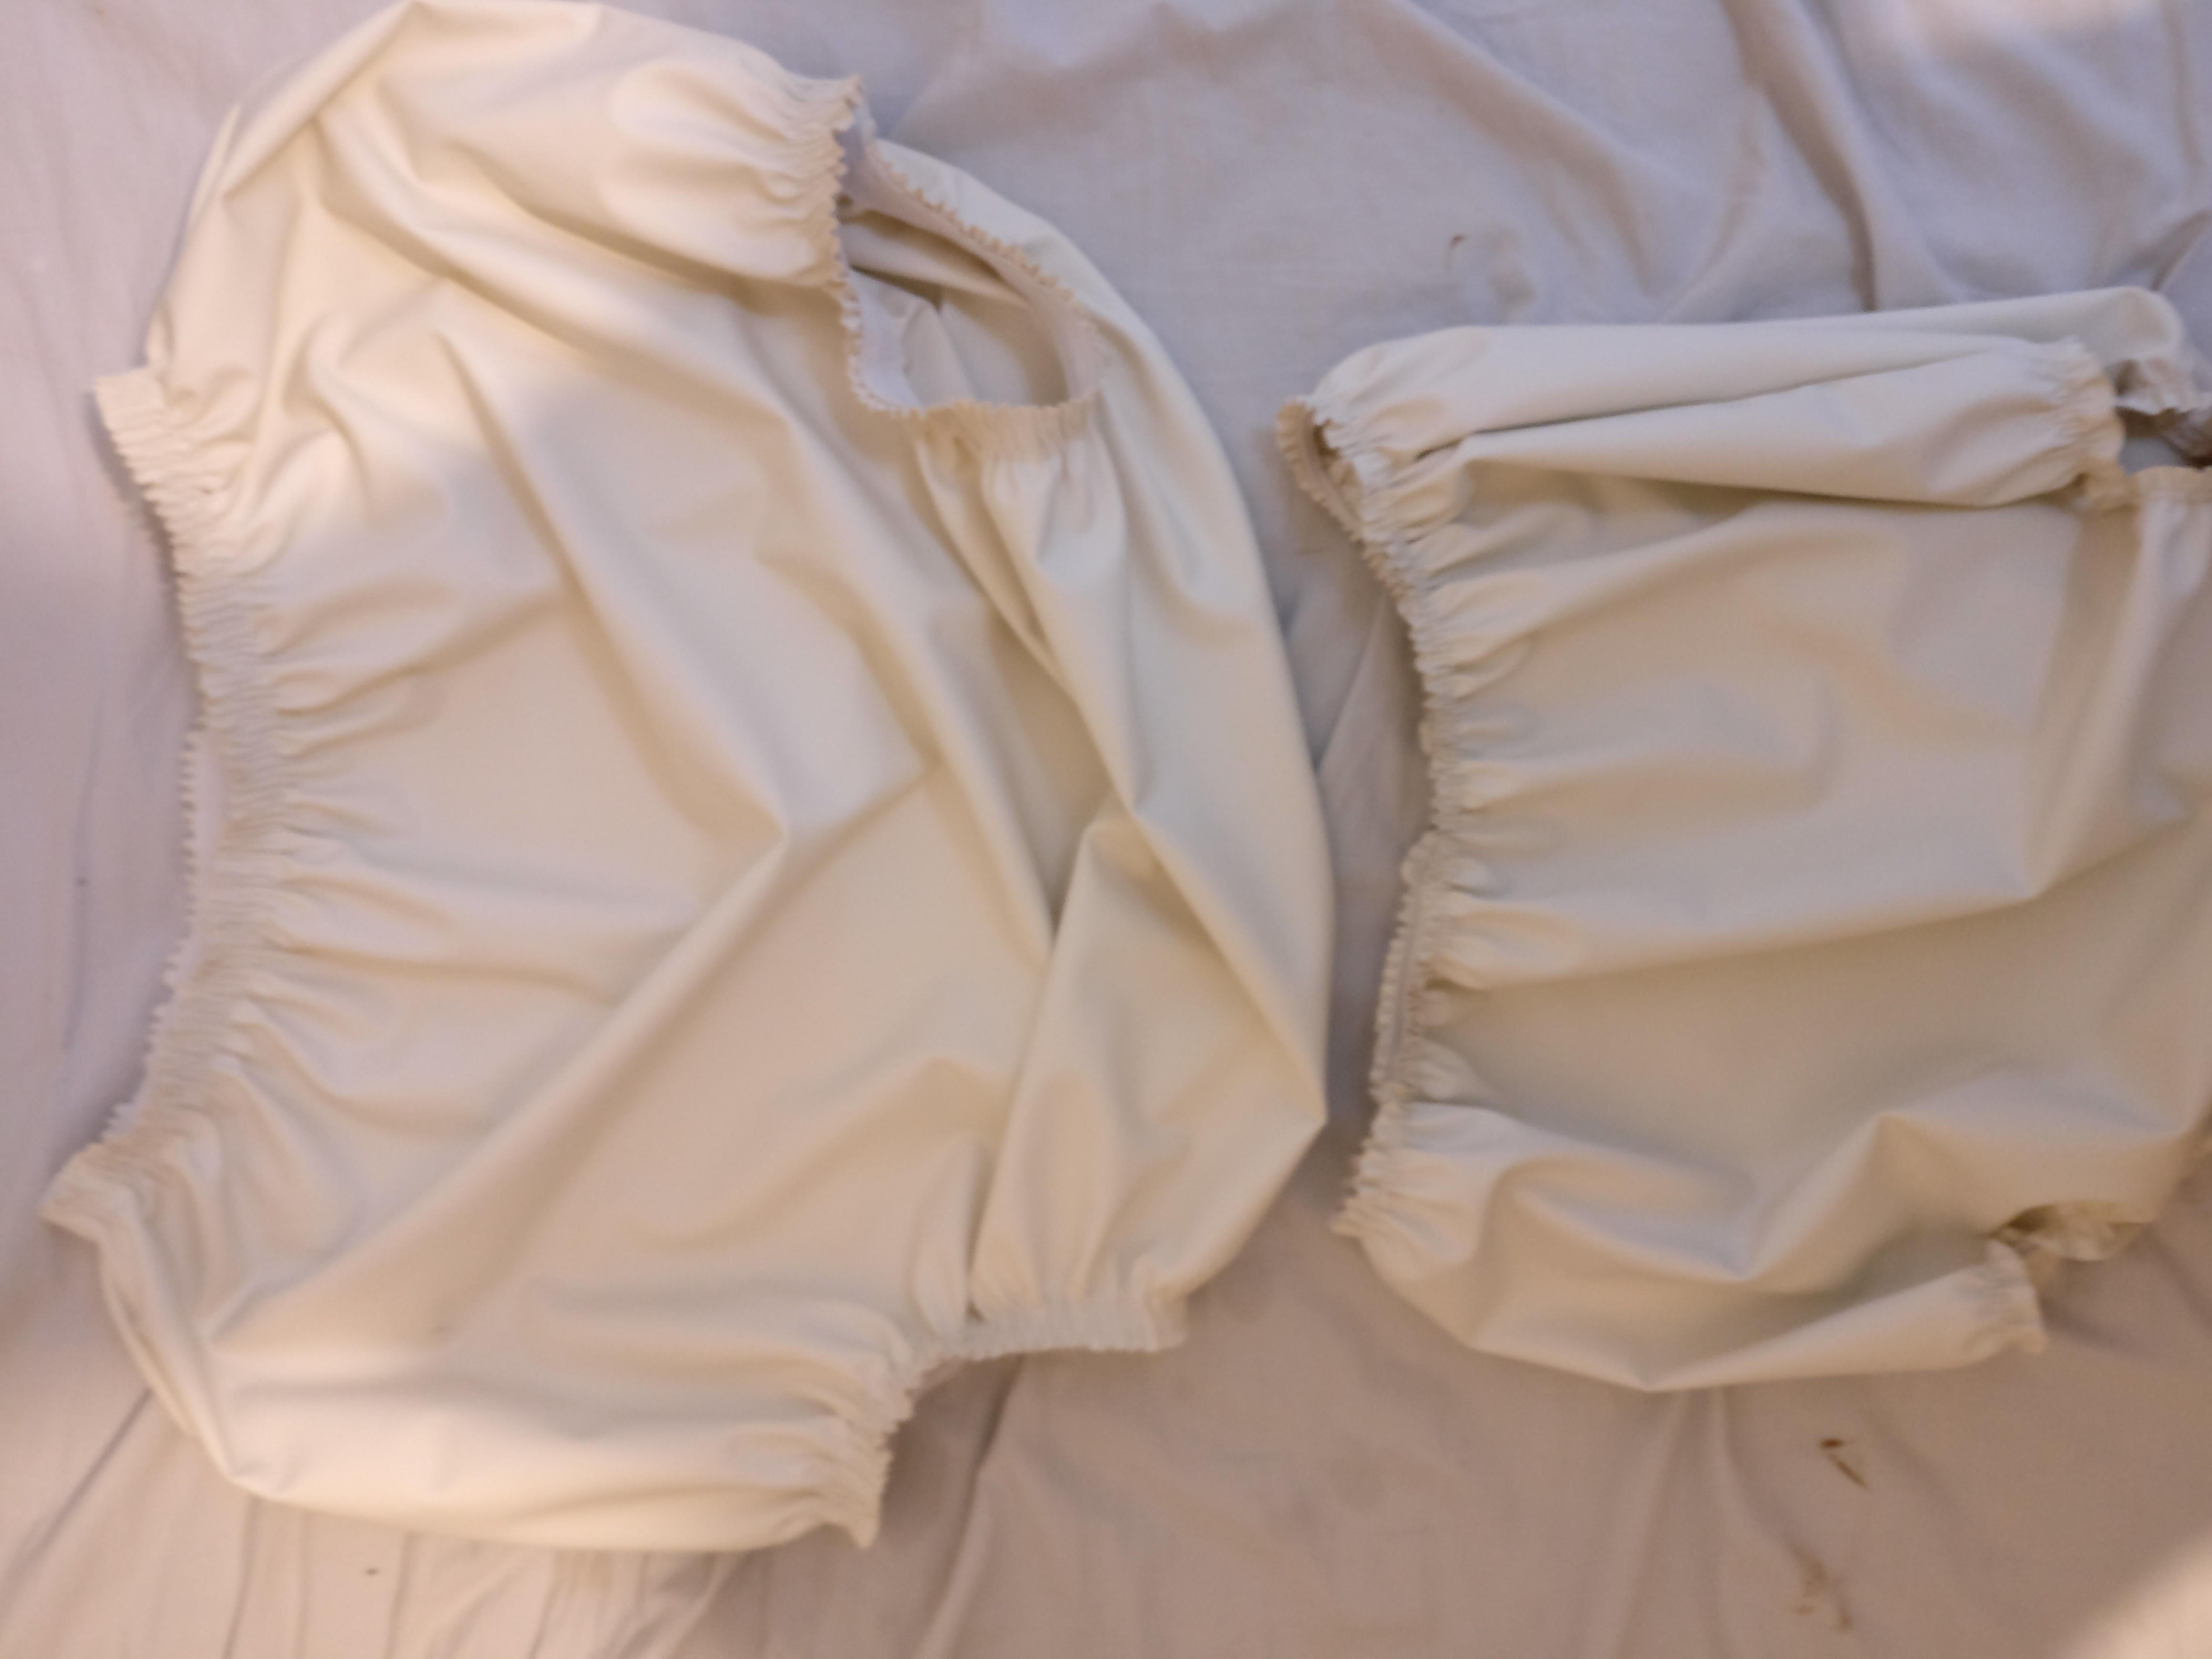
I'm done talking now I promise: And now finally, here's now much empty space I have in front. 2 rolls of duct tape, a box of microscope slides, can of contact cement, NATO filter, bottle of scotch, and can of wd-40. I should probably mention the normal sized pants have forward facing leg holes, but the large ones do not. And yes, I did make sure I'm not wearing them backwards, because I know for a fact that's something I might do Anyhow, do you see my point now? These proportions between the front and back fit are so awful I feel they can't possibly have been designed this way. That's why I'm wondering how you guys who are more experienced do it?

-
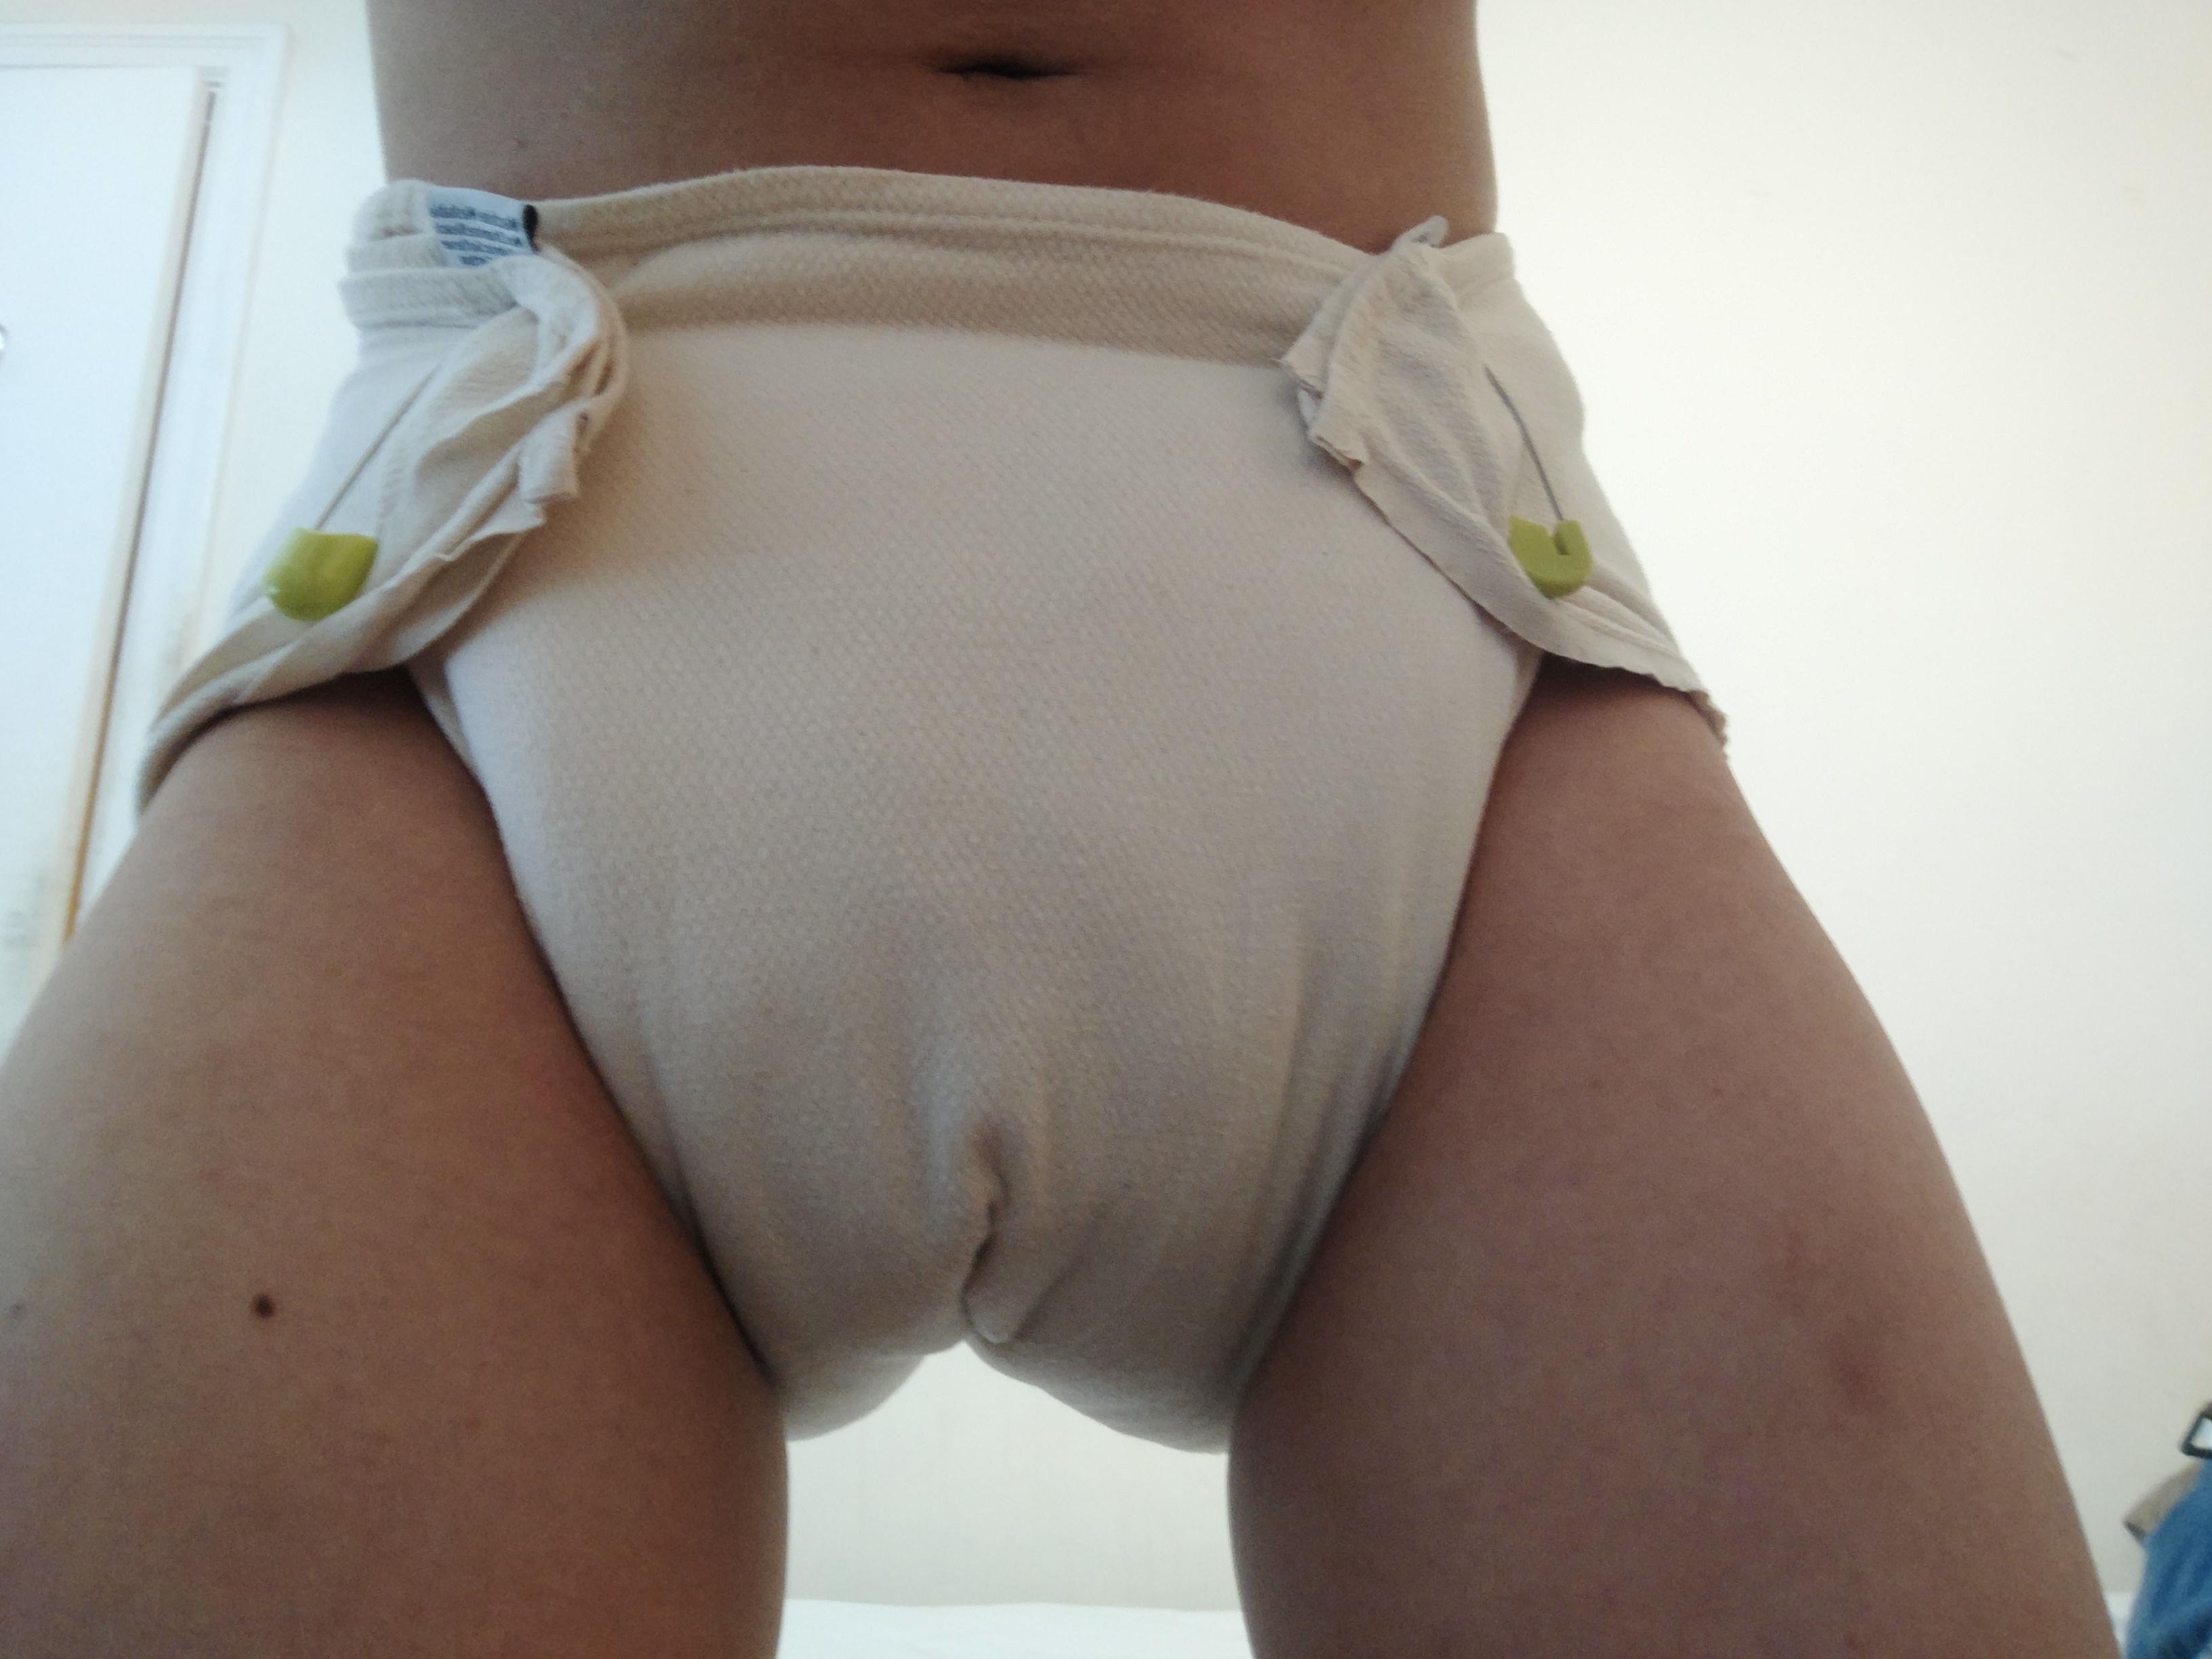
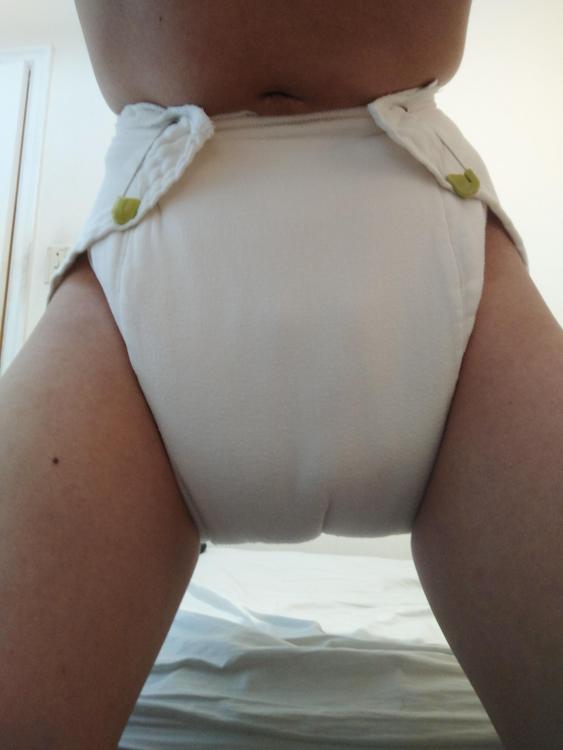
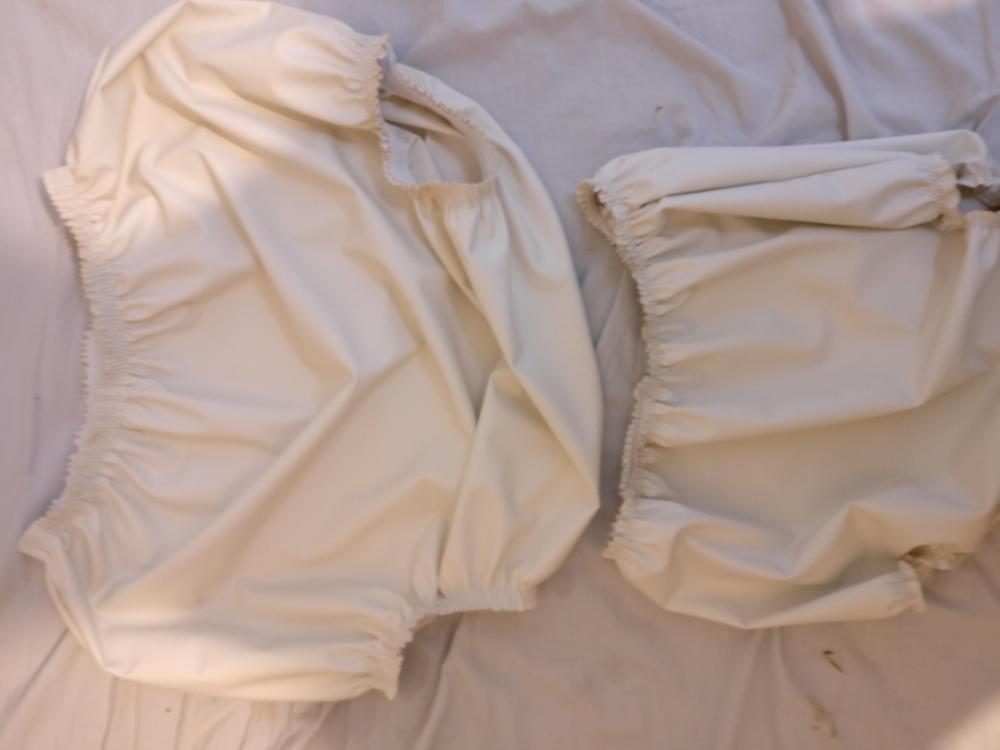
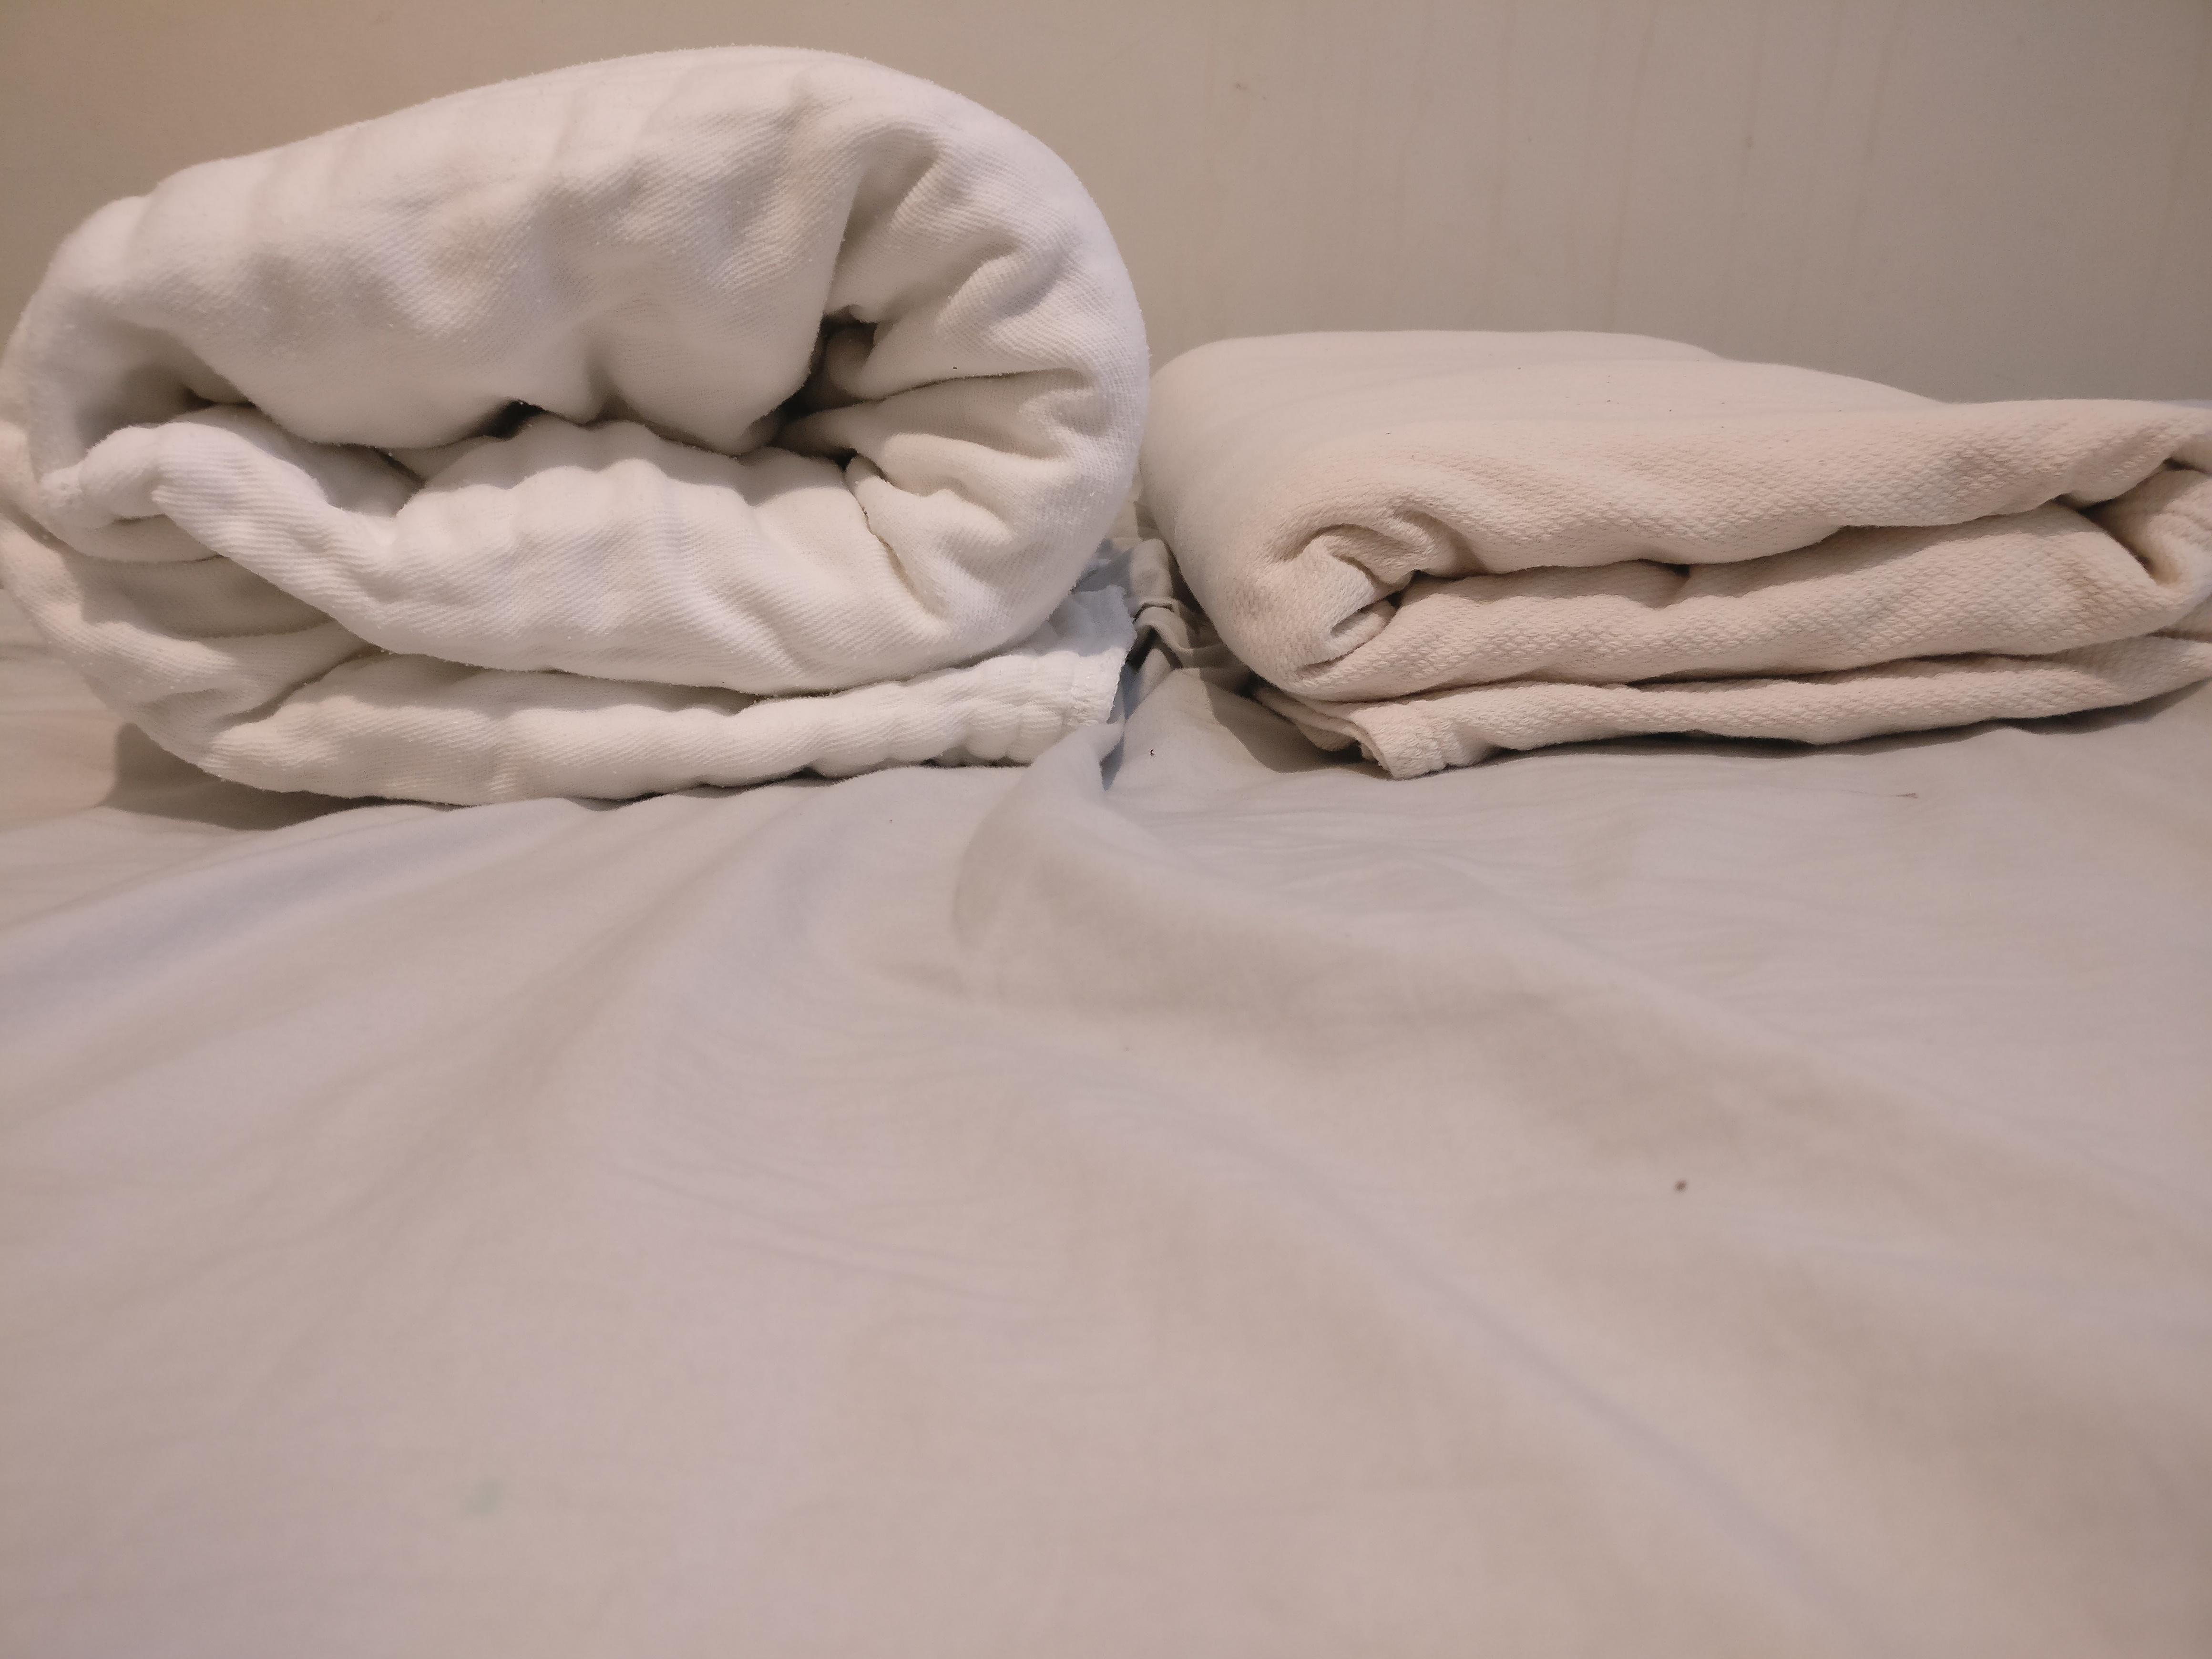
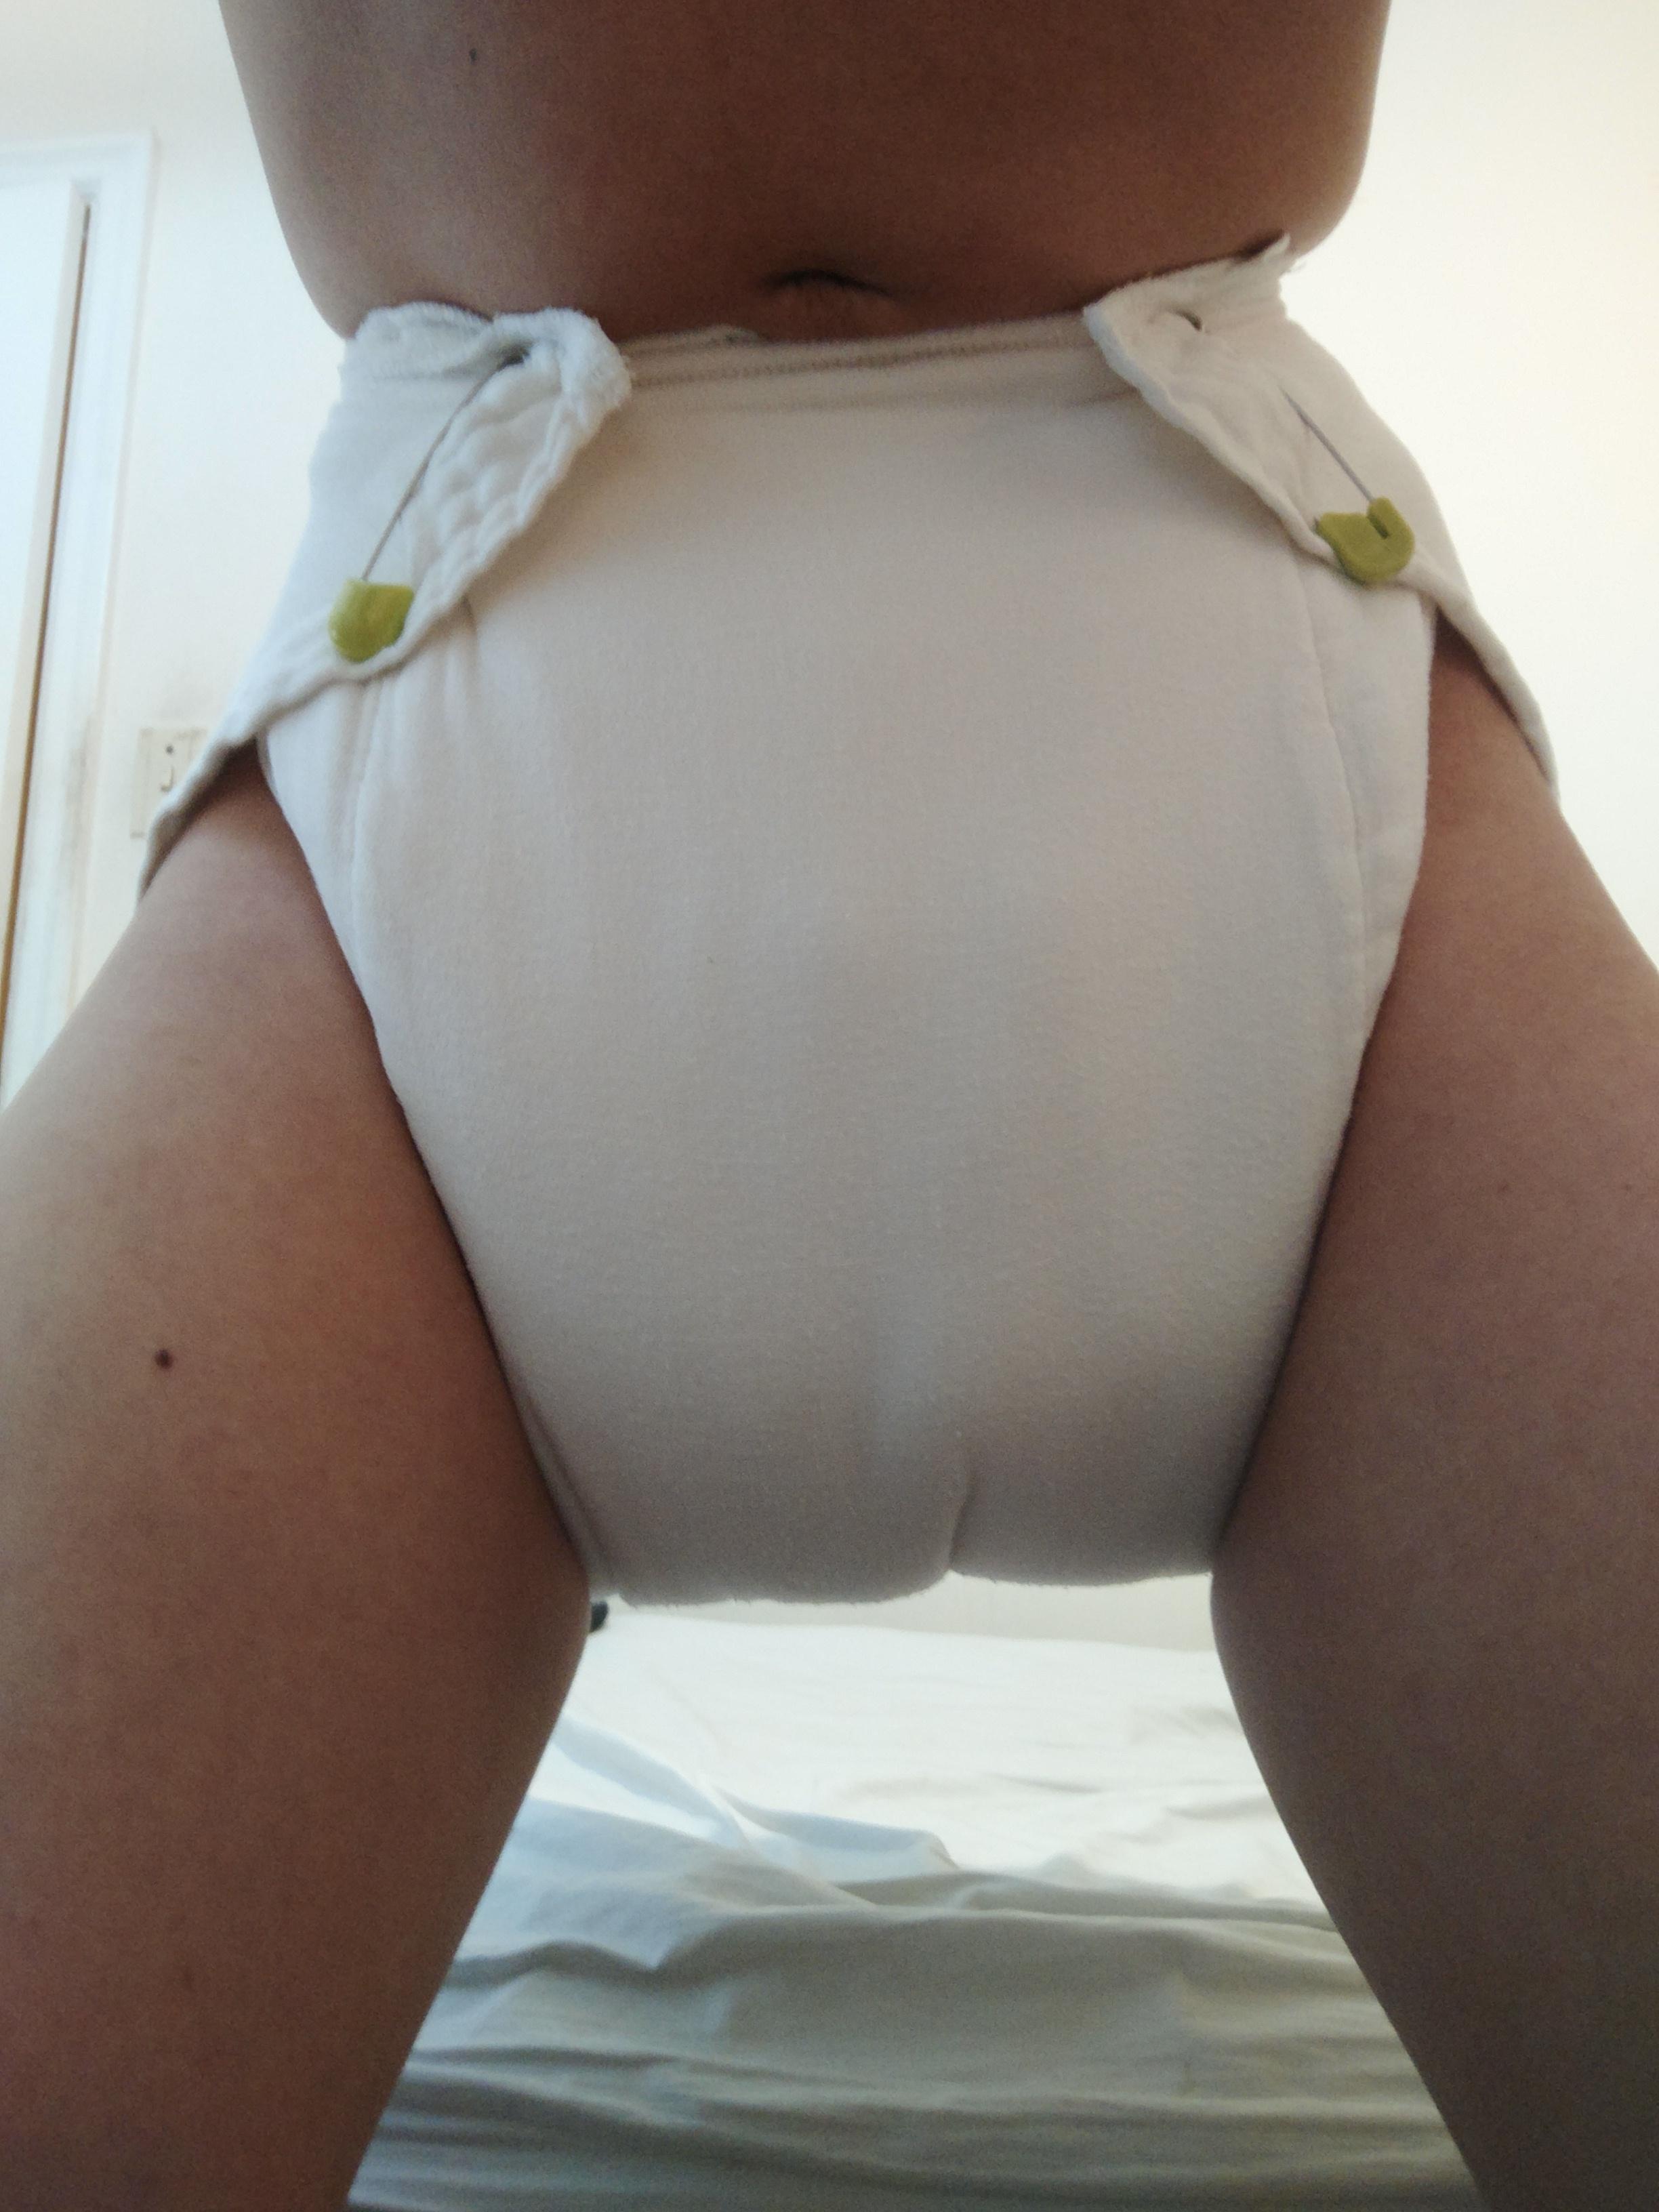
The not-so-practical diaper: This is what I wear when I don't have to interact with people. At home alone, ect. I have to change less this way, and there's also the advantage that there's absolutely no way I'm forgetting I'm diapered with this thing on. It's made from a rearz prefold and a bunch of stuffers. Doesn't look that bad from this picture, so here's a size comparison And here it is pinned on That's about as close as I can bring my legs together when wearing this thing, which is one of the reasons I like it. Another few points: -So the shell on this one is made from a prefold. I find that with rearz, their xs is too small, and s is too big. This shell is an s. I also have xs, which I often just fold up into a stuffer for this diaper, which you can see in the pic. Well, the extra size of the s comes in handy because all the stuffing inside takes up enough room that it fits. -The capacity is about 3L+. -Of course, I can, and often do make it even bigger when I'm in the mood for it. What I've shown you is the baseline configuration I use. At that point it's not even about the capacity any more . Doing this sort of thing might be somewhat extravagant with disposables, but that's why cloth is great. Unlike a reasonably sized diaper, there's so much padding in here that the padding in between the legs is comfortably firm, and doesn't really compress. It really changes the way I walk, sit, and even stand. Every step I take, the diaper definitely makes itself known. So that's why this configuration exists when the practical diaper works just fine. Also, I conveniently get to salvage my mistakes in purchasing the rearz prefolds. And now, finally on to the original point: the rubber pants And yes, I know I'm really ranty, and I can't stop because I have no self control. These are the ones I use with my practical diapers. They're rubber, and I also have plastic ones. These actually fit somewhat well, but a little small on the back side, as I mention in my original post. So here's the back. Notice the part where the thighs begin. It looks fine now, but what isn't so visible is that the rubber pant's material is all used up here. They just barely cover the span of the diaper's bottom. And if the pants shift at all, for example from me sitting and sliding just a little bit, leaks will come really easily. Additionally, the waist barely covers the top of the diaper, another common leak point. If i try to pull them up, it straight up exposes the bottom of the diaper. If I cover the bottom to a degree I'm comfortable with, the waist is exposed. So I should just get bigger ones right? well... Here is a picture demonstrating just how much empty space is in front. I'm holding the waist open with my hand to show you guys inside. In there, I can fit: 2 rolls of duct tape, a can of contact cement, and a NATO gas mask filter. Rubber pants continued: These are the rubber pants I use with the oversized diapers. As you can see, they are extremely baggy and oversized compared to the usual ones. To be fair, that is literally exactly how they were advertised. However, they still just barely fit for my large diaper in the back and waist. however... Here is a pic showing how much empty space is in the sides. Keep in mind it's this much both sides And here's the empty space in the front/bottom


-
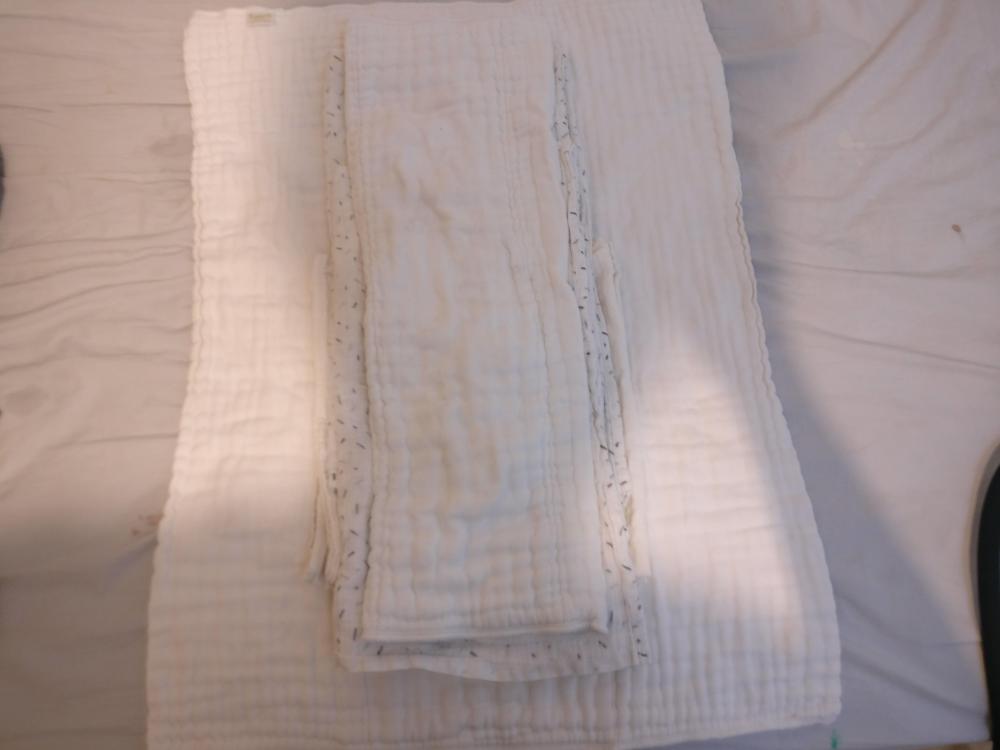
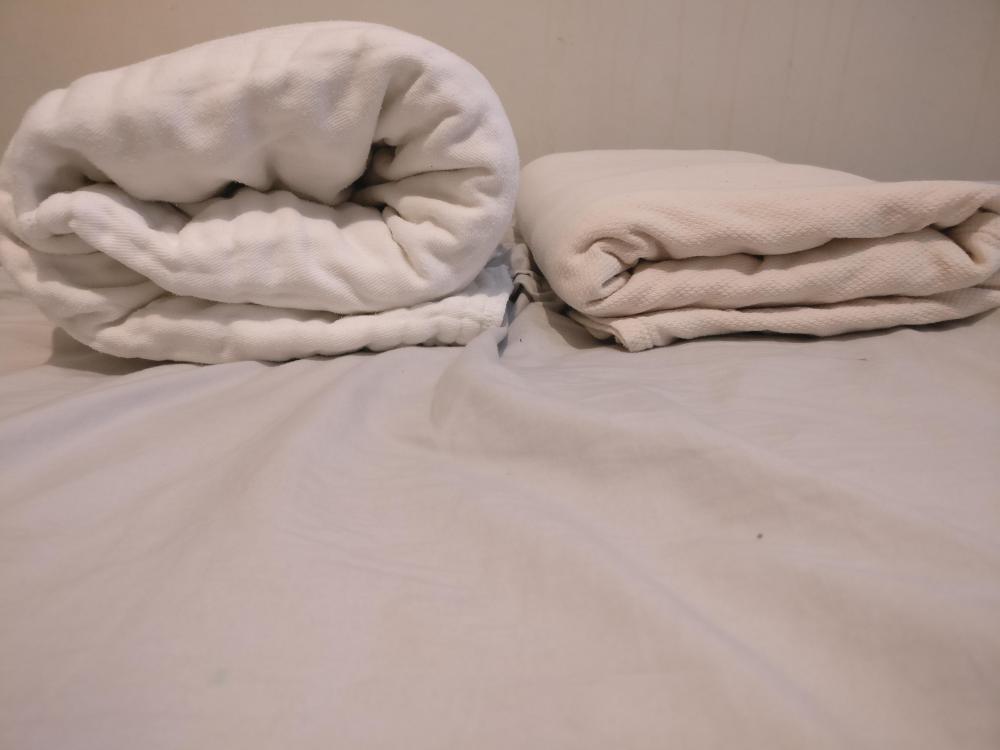
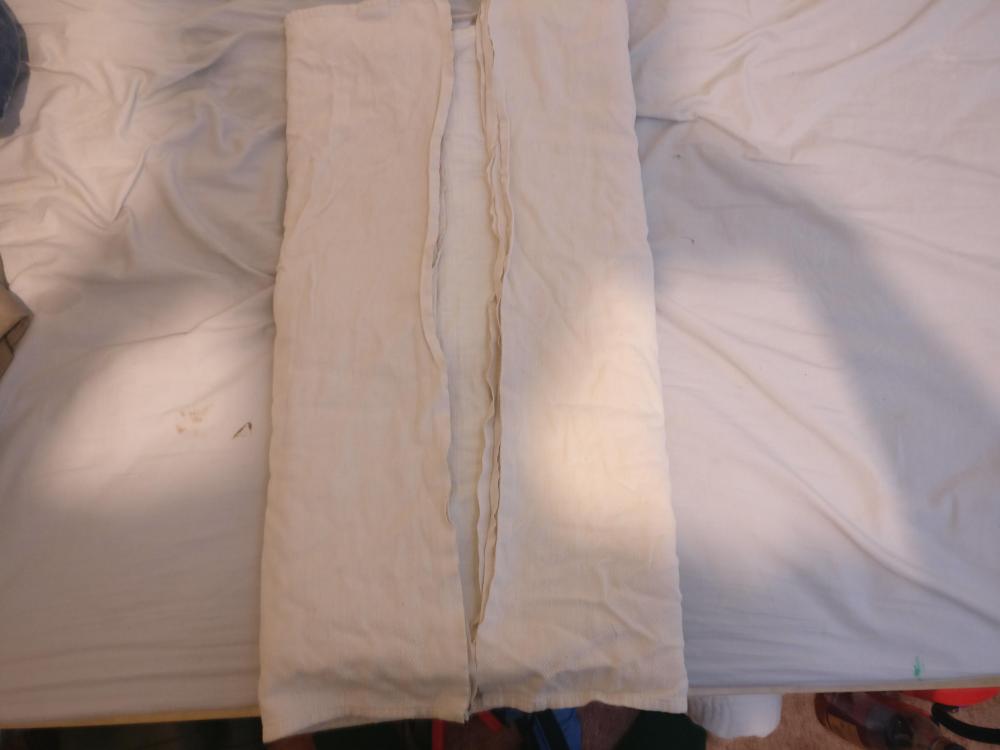
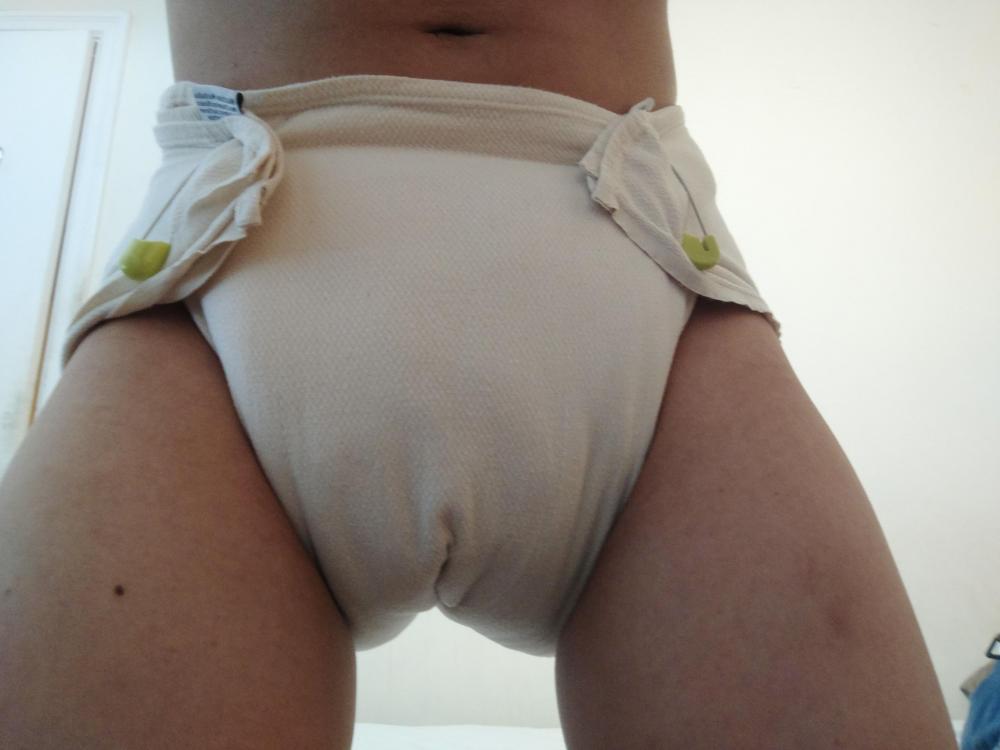
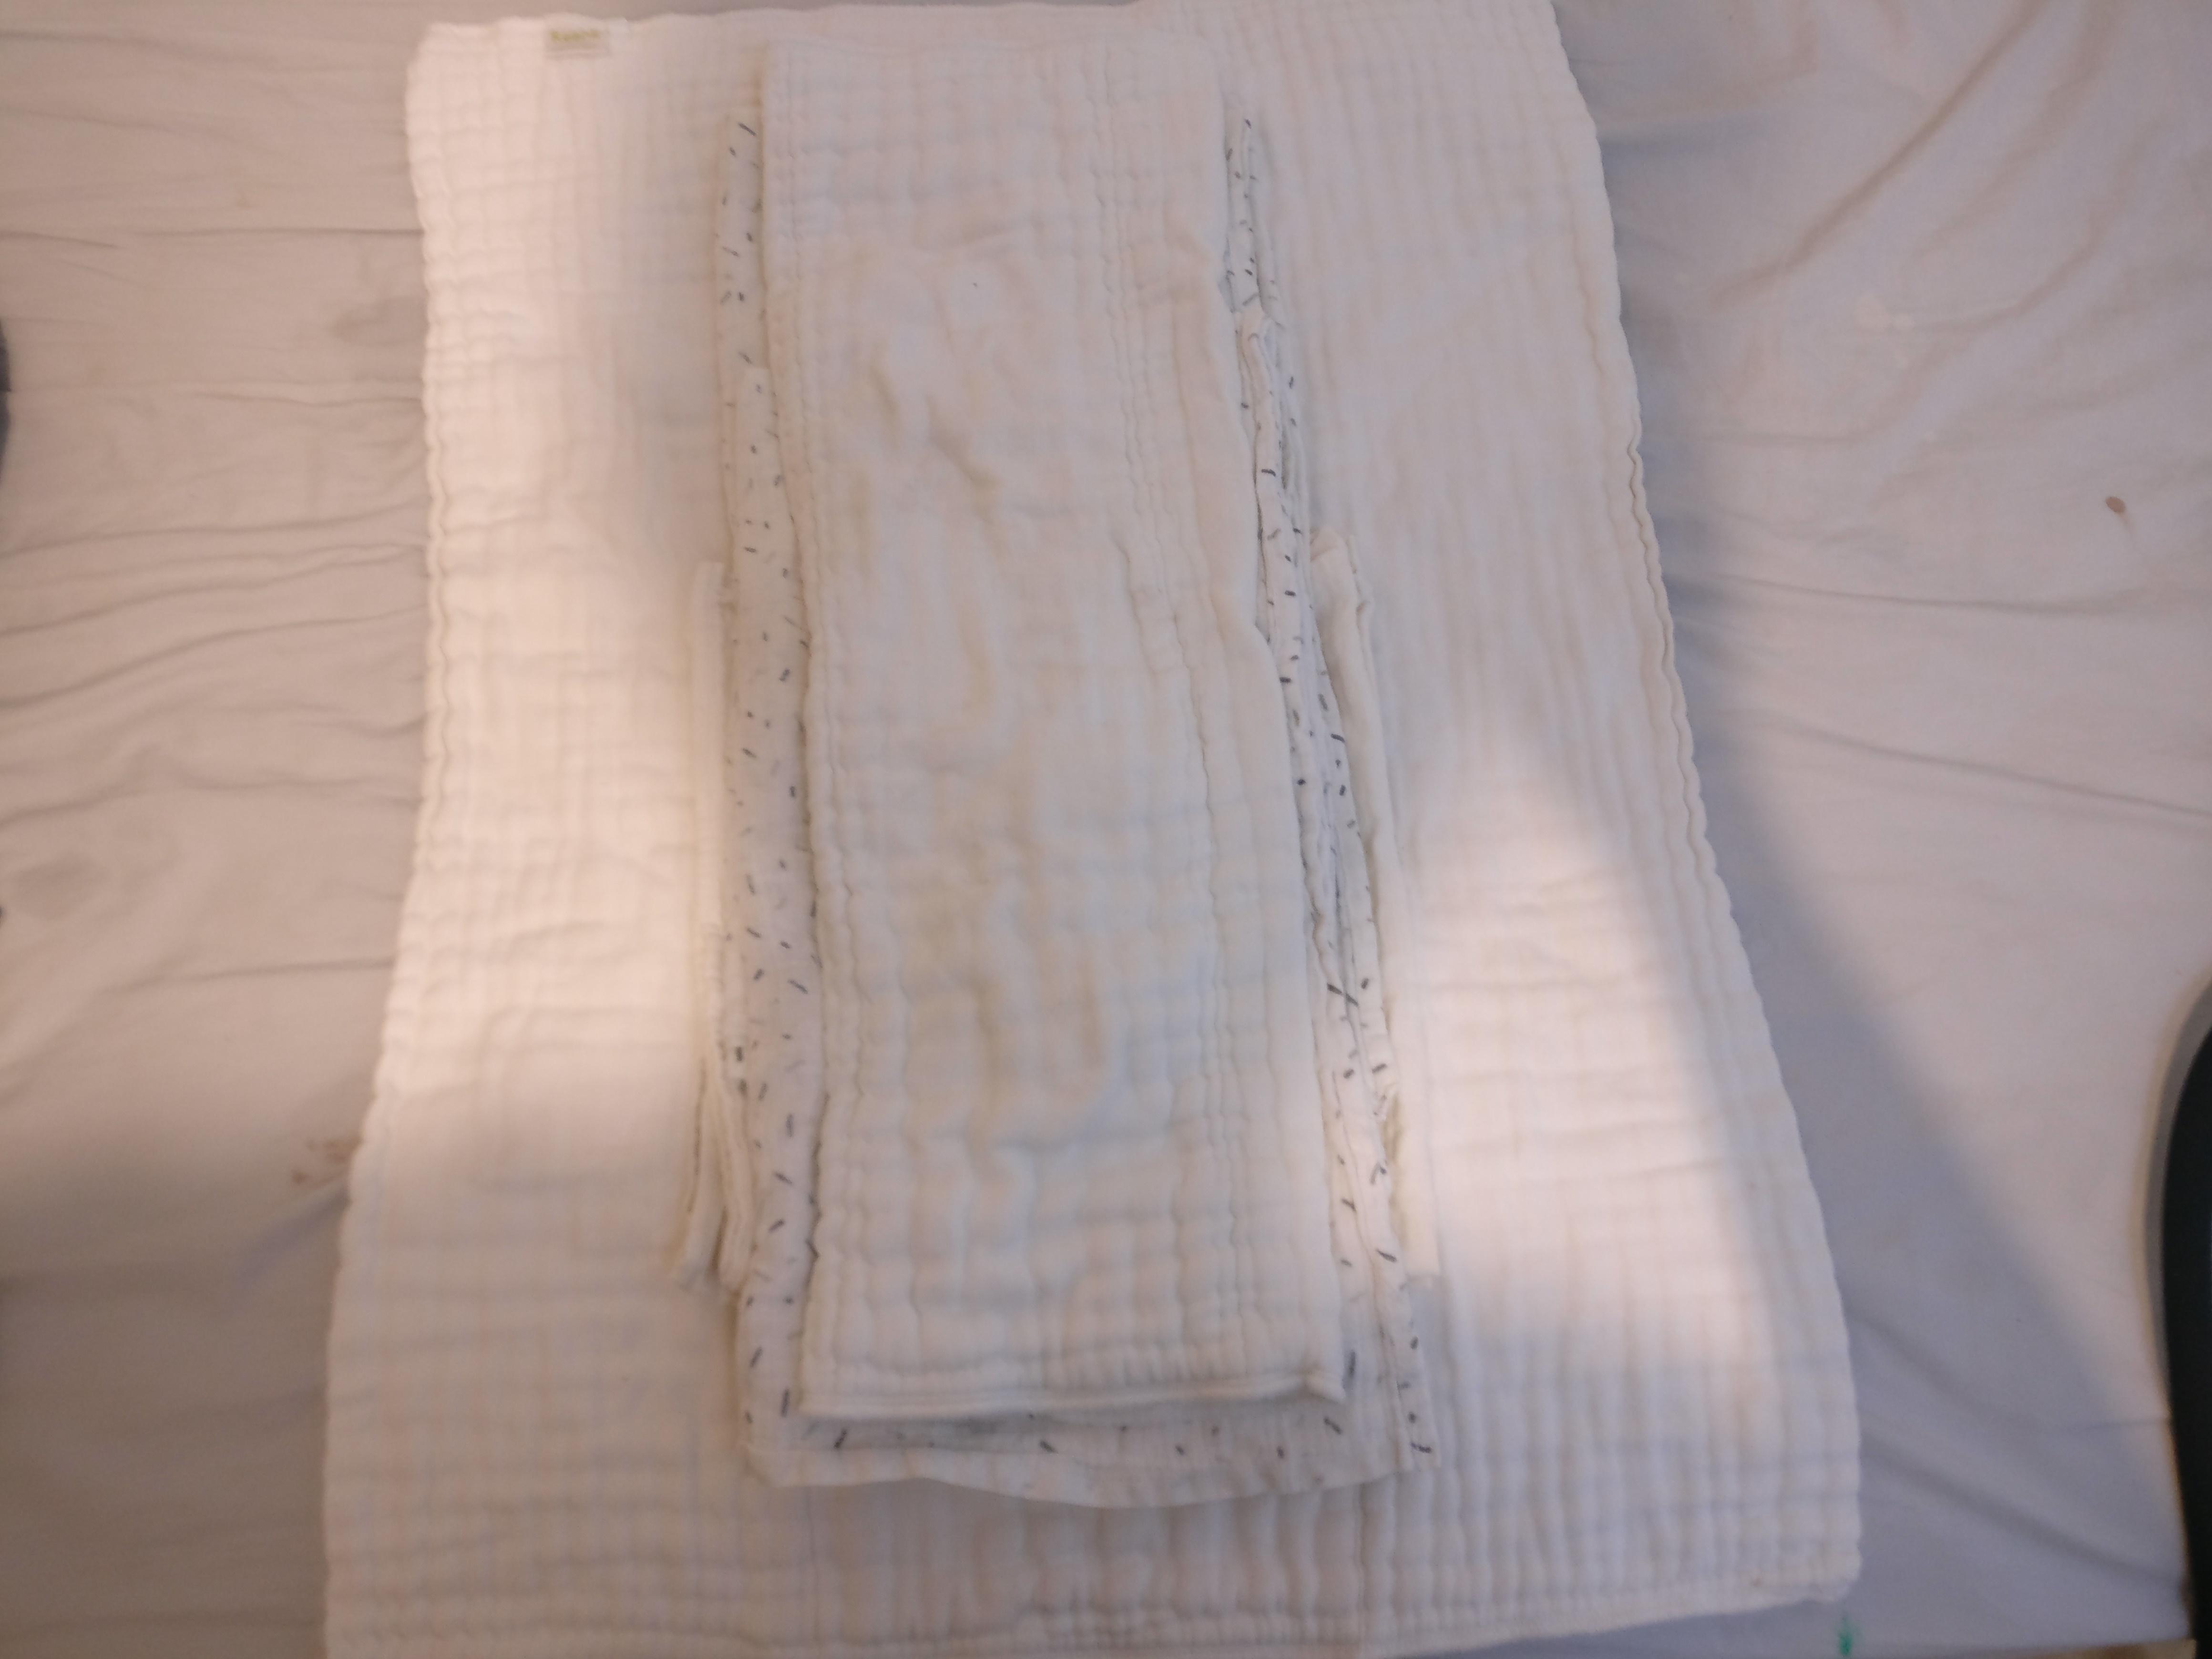
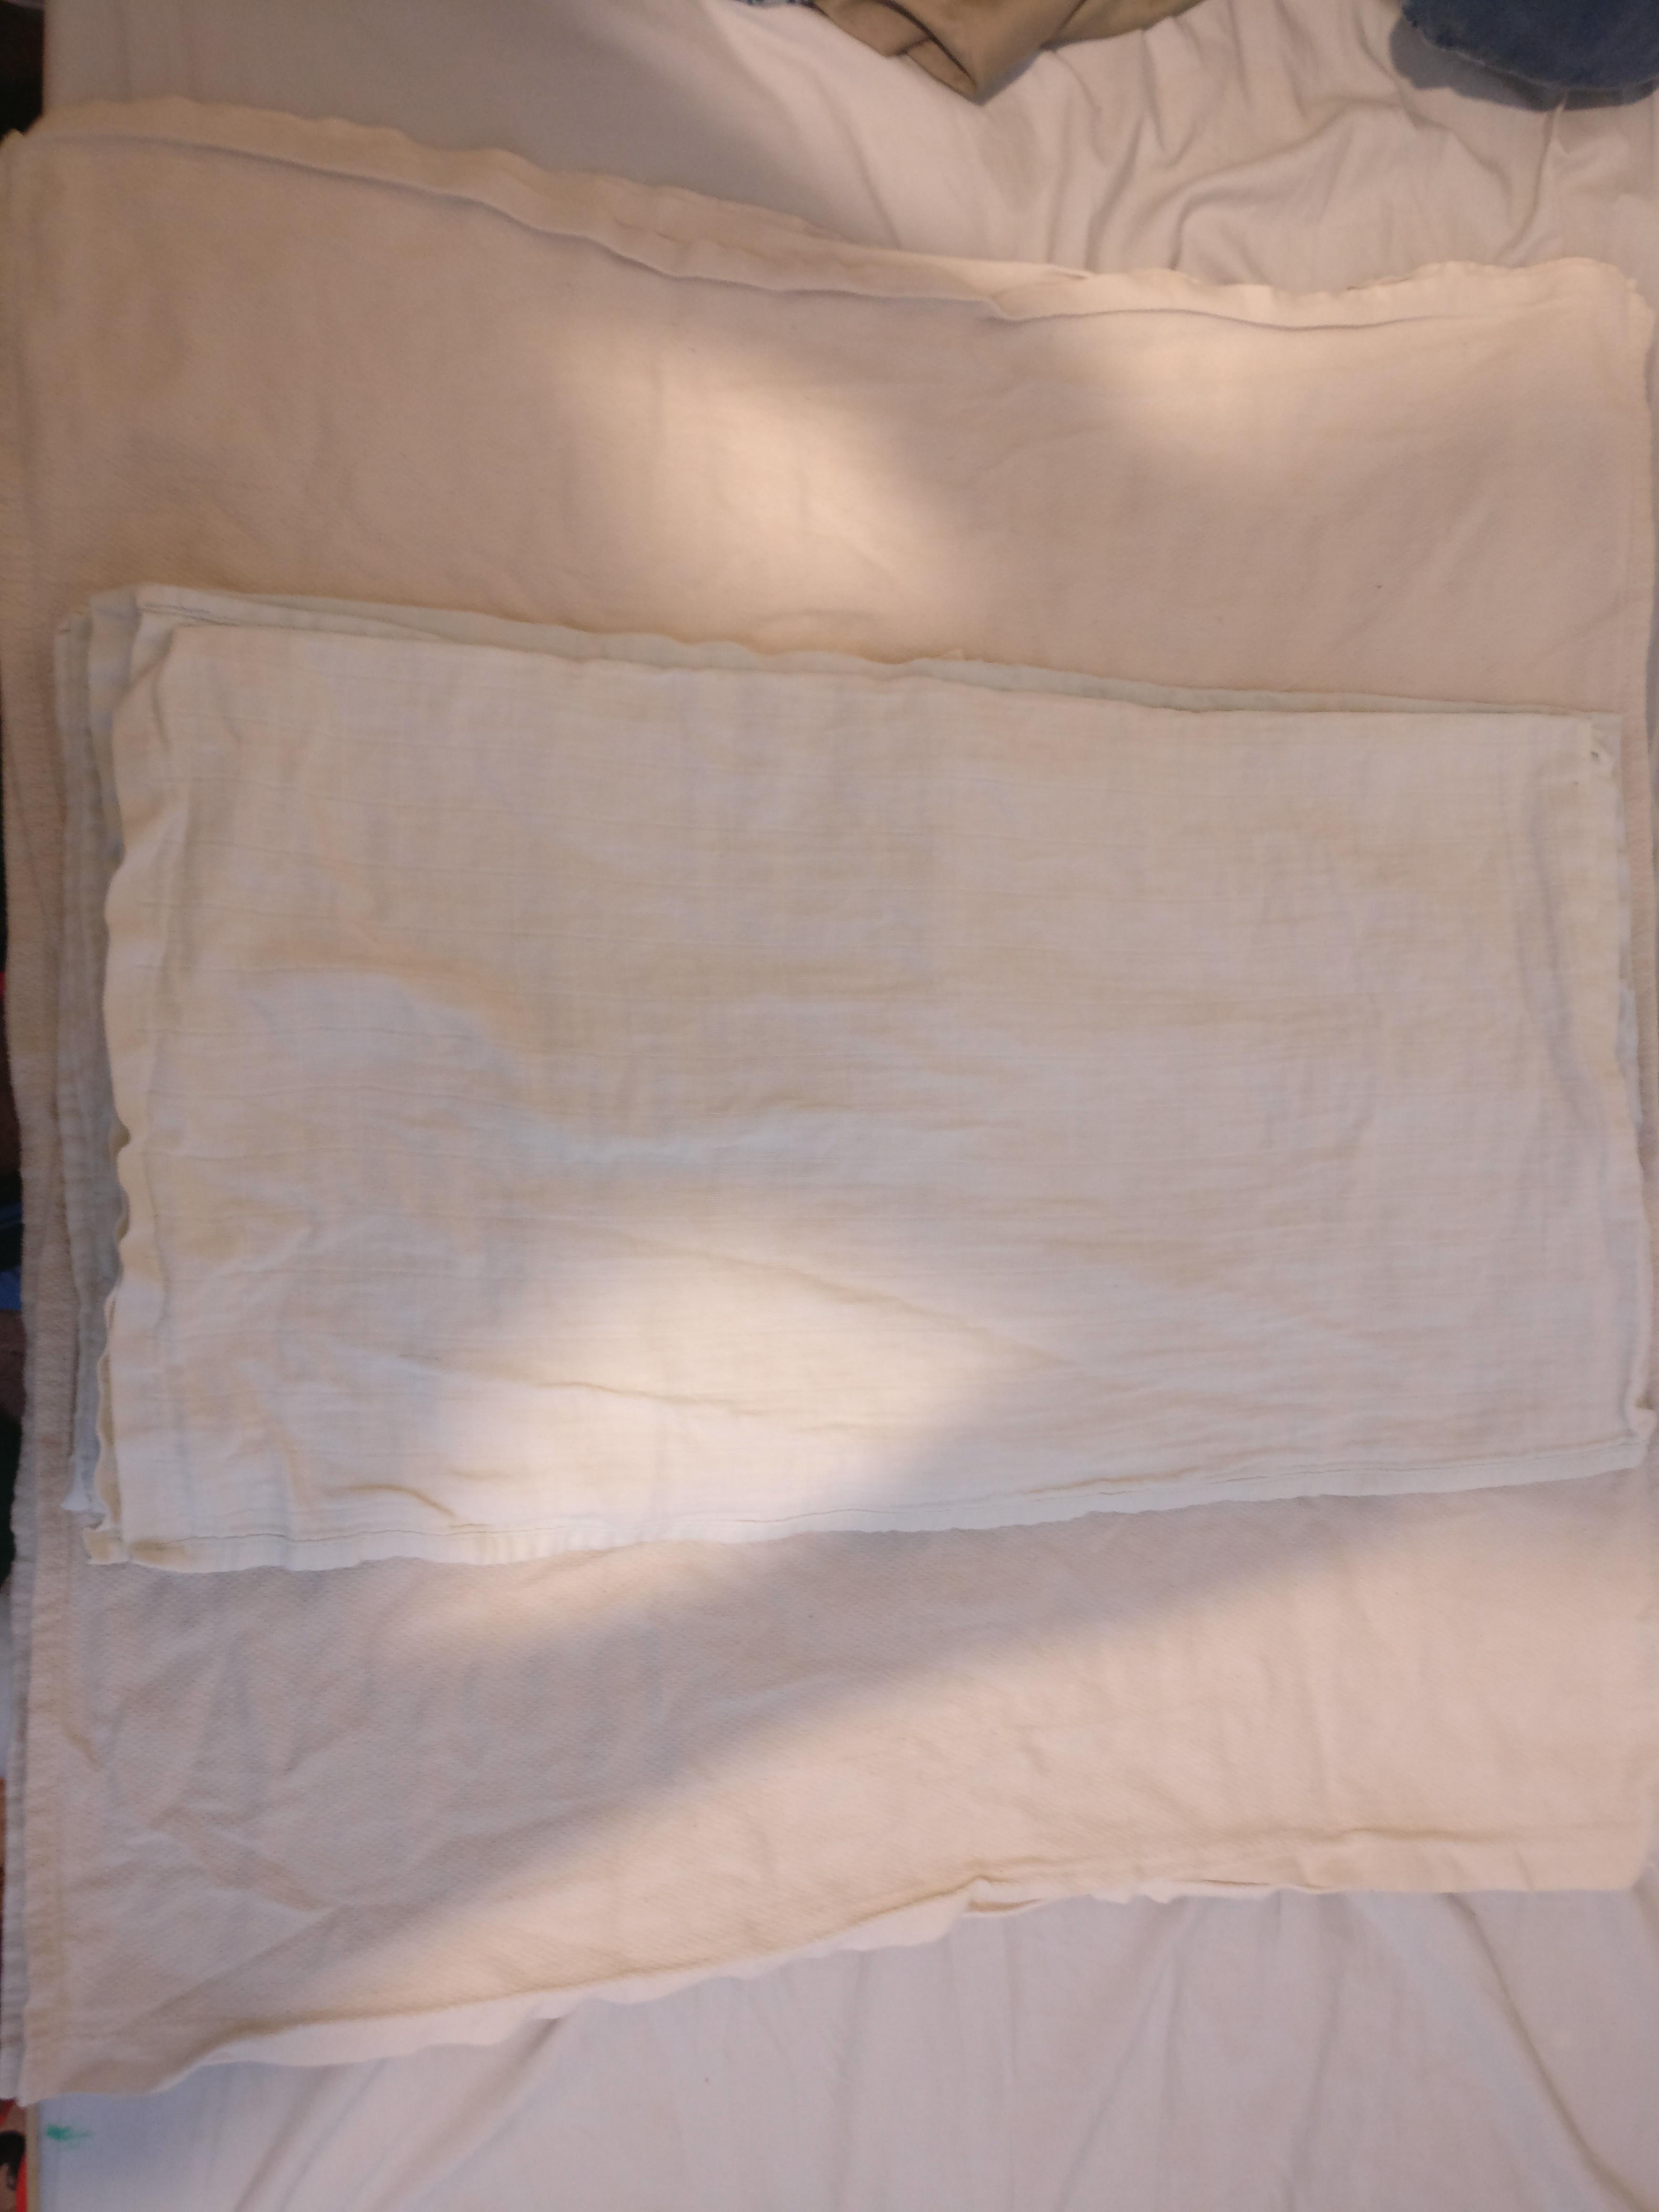
@Little Christine Yeah I just now realized how not knowing my diaper system makes things difficult lol. Alright there's lots of pictures, so I have to split this across several posts because of the 15 mb total file limit. So here's my explanation: The way I use my diapers is based on a "shell and padding model". The shell is the outer part that holds things together, and the padding does the bulk of the absorbing. This allows me to adjust the capacity to whatever level I want. In practice though, I have my "practical" diaper, and my very large ones. The Practical diaper: This is what I use to wear under clothes, when there are other people around/ I'm in public. The beige flats in the back are birdseye baby flat diapers, which happen to be the exact right size for me when unfolded, as used as if they were prefolds. The white is the padding, which is gauze baby flats. Those ones are about 5-10 cm smaller than the birdseye, so they're only good for padding. I use 3 flats for the shell, and I usually use 5 or 6 for the padding. You can't see it in the picture, but the way the padding is layed out, I have 2-3 flats folded in half, and then in half again to make a square. This is placed at the front of the diaper. Then, 3 flats are folded in half, and placed on top, which is the white that you see. This way, I have more absorbency near the front where it matters more (and also bulk in the front tends to be a bit less visible than in the back, imo). Put together like this, it's basically a roundabout way to get a standard adult prefold. A couple of points here: -From experience, the capacity is about 1.2 litres, which happens to be the actual practical capacity of a daytime abdl disposable. -Why not just buy an actual prefold for all this trouble? Well first of all, this costs less. The stuffer flats are $1 each, and the shell flats were ~$2.5 each. So about $13-14. Meanwhile, a rearz prefold would cost $20, and have around a third the capacity. Second, this system is adjustable to any capacity I want. And finally, if any flat wears out, instead of the whole thing being trash, I can simply reassign that flat to being a stuffer instead. So nothing truly wears out until it's literally falling apart. This makes my diaper stash's longevity quite impressive. -If I were to follow "proper" proportions for making my mock prefold, the stuffers would be folded in thirds instead of halves, so that the stuffer and the the two flanks would each be 1/3 the width of the diaper. This is how it's usually done. However, I do it this way because the half folded stuffers fully cover my bum when I sit down, which is vastly more comfortable than having the padding awkwardly covering half of each cheek. It makes any seat comfy! Also, this configuration folds up quite nicely for transportation or storage: Here's what it looks like pinned on.

.thumb.jpg.c35048e756b8253212a8fc7ddb1be2d1.jpg)
-
So I've got a question for some of you experienced cloth users. It seems to me every pair of rubber pants I own is deliberately made to fit like trash. Please hear me out, now. The most important component to a leak proof fit, to me, is the part of the leg holes that covers the back of the thigh, and lower butt. Basically, the part of the diaper that contacts the chair when you sit. This part always seems to not be large enough relative to the rest of the rubber pants. If this butt part of the rubber pants is large enough, I can tuck a little bit under the diaper, and the whole system is practically leak proof. However, whenever a pair of rubber pants is large enough for this, I find that the front and sides are wayyy over sized. I could practically fit 2 rolls of duct tape down the front side, for example. And this is even with the fact that my diapers are made about twice as thick in the front as the back. The sides being baggy I can understand as these are made to fit many body sizes. However, the back part being too small compared to the vastly oversized front seems like it would be a problem no matter what size of person, since it's a fundamental mismatch of two parts that don't seem to belong on the same pair of rubber pants. How do you guys deal with getting rubber pants that fit well, and what is your preferred system of rubber/plastic pants that prevents leaks the best for you?
-
It's great to hear you've experienced your first significant success! Now it's just a matter of incrementally improving comfort and security until it can be worn as long as you like. Do keep us updated, and stay drippy!
-
@Strangedude9990 It looks to me like the end that goes in your bladder is much too short. Try making it 2-2.5 cm longer and see if that improves things.
-
I absolutely agree that the total length is critical. I think it has to be right to within no more than 2mm of error or else the stent will be very uncomfortable. One easy way I've found to find the right length is to take a catheter, or stent you know is too long and insert it. Then, clench and unclench your sphincter (try to "stop the flow" of pee) and you should be able to feel the movement of the sphincter with your finger. Move your finger along while doing this, and you can basically map out exactly where your outer sphincter starts and ends. Then, make your stent such that it reaches about 3 mm further than the end of your sphincter, and it should be perfect. A good test at this point is to try clenching again. If the stent is too short, you will feel discomfort when you clench, as the sphincter tightens around the sudden end of the stent. If, however, the stent clears the sphincter completely, then you should not really feel anything different than if the stent were not there. @Strangedude9990 I recommend you give this method a try, in order to get the length of your stent right in one go. Also, I'm not there to see it in person, but from the pictures you've posted, it seems to me like the ending of your stent is sticking/flaring out a bit, and will eventually cause irritation. Maybe try to get it smooth and in line with the rest of the stent? @Millerlite: It should ideally not be painful. However, for beginners it usually is lol. This is mostly because inexperienced ones do something wrong, such as inserting too fast, without enough lube, too large, or their cath just came with sharp eyelets that they didn't soften first, or they did everything right, but tried to insert into an already sore urethra that needed time to recover. As for myself, there's no pain at all when inserting, and I would hesitate to even classify the feeling as uncomfortable at this point. But that's because I have experience, and my urethra has gotten used to having stuff inserted. The takeaway though, should be this: it will start out uncomfortable, but should not be painful. It will get much better with time, so long as you listen to your body. Also, mini stent 3.0 update: I had had it in last week, when it became uncomfortable after only a few hours. This was very strange, especially since the discomfort was in front of the stent, where there was no stent at all! Well, it turns out I messed up with the retrieval line again. Learn from my mistakes guys: don't used #69 industrial grade bonded nylon thread. It's rough. Duh. Today, I switched back to floss, which I washed the mint off of this time, and in just the few hours I've had it in, I've already noticed a big difference. We'll see how it goes this time


.jpg.16ae06ead3746e19f8175b3114c02296.jpg)